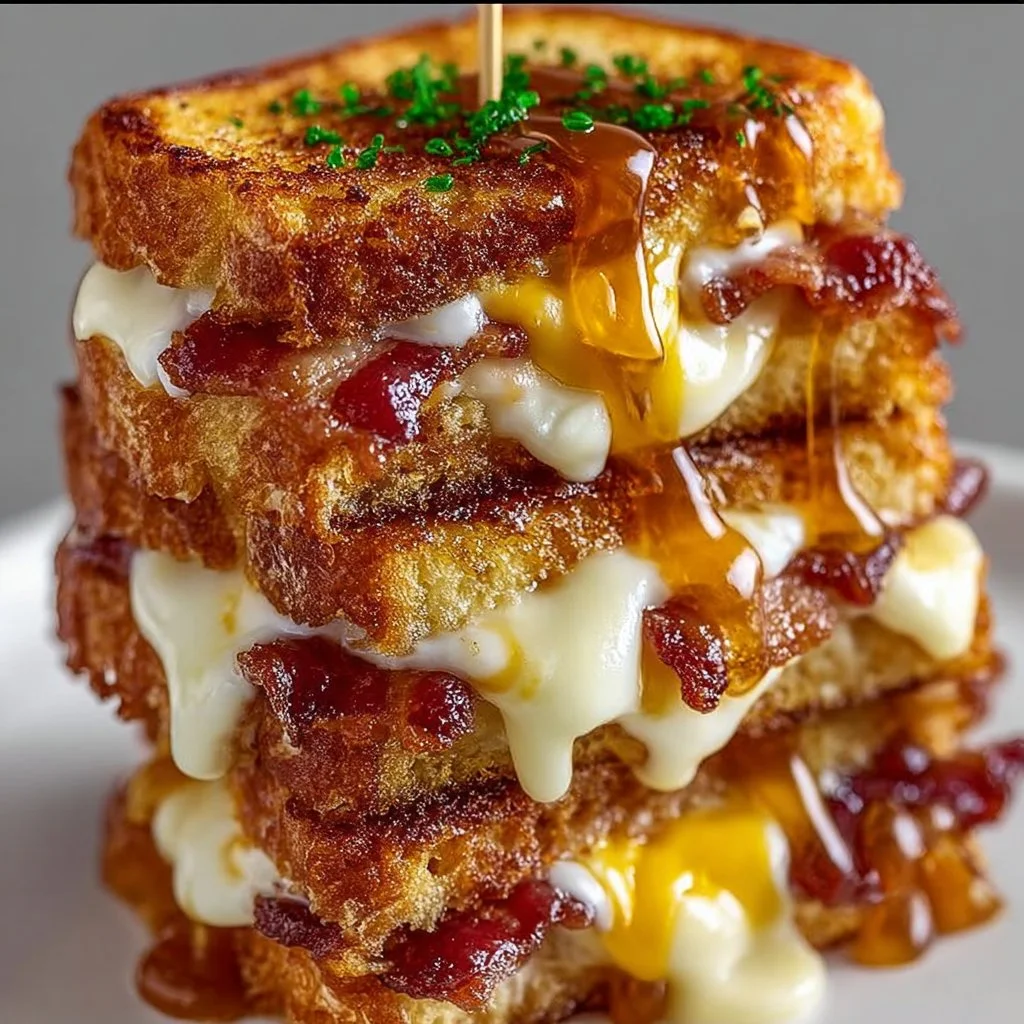
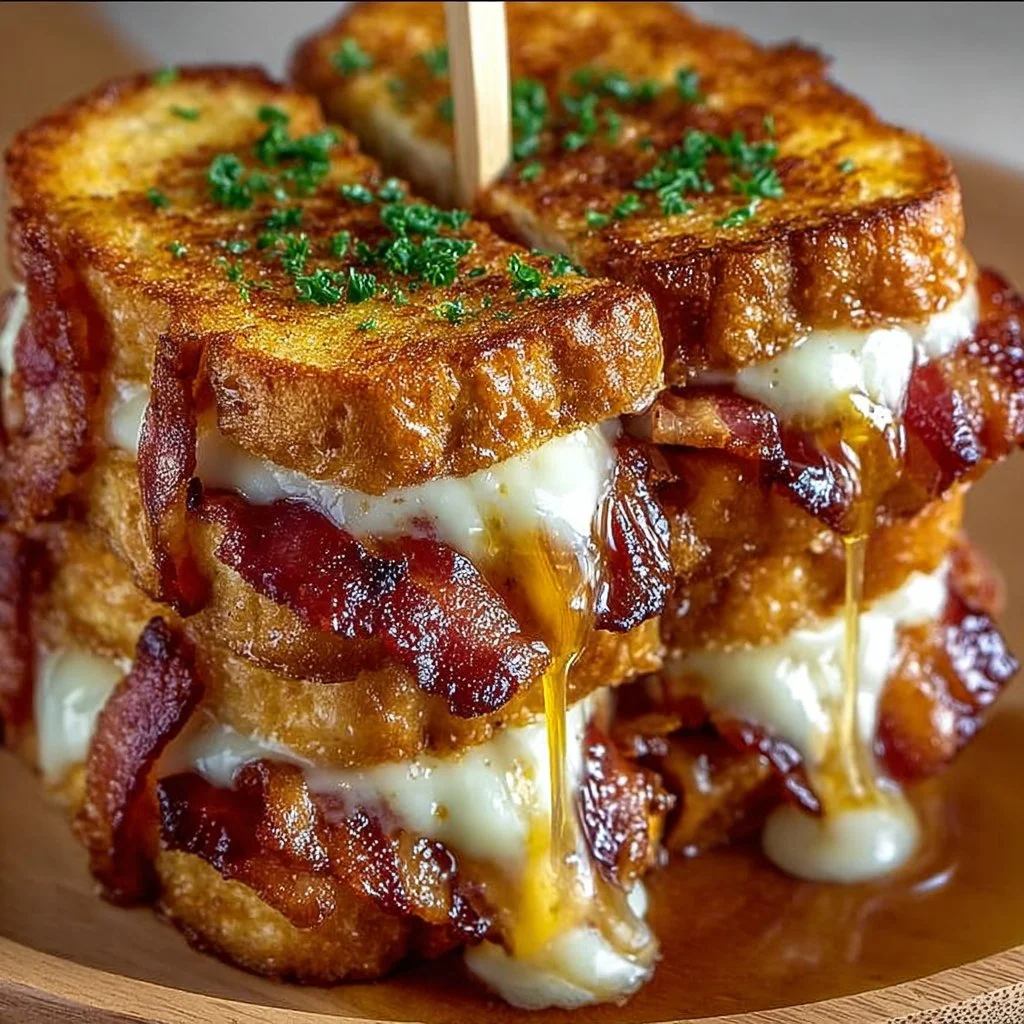
Bacon-Wrapped Grilled Cheese Fingers

Creamy, juicy, and utterly comforting — these Bacon-Wrapped Grilled Cheese Fingers are everything you want in a snack and more. Imagine molten mozzarella stretching with every bite, sharp cheddar peeking out, and smoky, crisp bacon hugging the outside for a crunchy finish. This treat hits all the right notes: oozy cheese, salty bacon, and golden grilled bread. Fun fact: grilled cheese sandwiches date back to the early 1900s when affordable ingredients made them a lunchtime favorite, and wrapping them in bacon is a modern, indulgent twist that’s impossible to resist.
This recipe is special because it’s simple, quick to assemble, and perfect for family nights or casual parties. Compared to our classic grilled cheese on the blog, these fingers add a smoky bacon layer that transforms an everyday sandwich into a show-stopping finger food. If you love easy comfort food with minimal fuss, you’ll want to try this right away — it’s fast, fun, and ridiculously delicious.
What is Bacon-Wrapped Grilled Cheese Fingers?
Is it a sandwich, a finger food, or a bacon embrace for cheese? It’s all three. Bacon-Wrapped Grilled Cheese Fingers are small grilled cheese sandwiches wrapped in bacon, then grilled until the bacon crisps and the cheese melts into a gooey center. Why the word “fingers”? Because slicing these sandwiches into strips makes them perfect for dipping and snacking — hand-friendly and shareable. Who named it? Maybe someone who believed “the way to a man’s heart is through his stomach.” Or maybe it was just easier to eat without a plate. Either way, it’s playful, portable, and begging to be made — go on, give them a try.
Why You’ll Love This
Mostly because the texture contrast is irresistible: molten, stretchy cheese inside and crisp, smoky bacon outside. The combination of melted mozzarella and sharp cheddar creates a creamy, slightly tangy interior that pairs brilliantly with the bacon’s savory crunch. Making these at home is much cheaper than buying specialty snacks — a few slices of bread, cheese, and bacon can feed several people for a fraction of takeout prices. Finally, the recipe is flexible: add herbs, a slather of mustard, or a brush of hot sauce for extra personality. If you enjoyed our hearty ham-and-cheese melt, you’ll love how this version turns classic comfort into a fun finger food. Try it tonight — it’s worth every bite.
How to Make
Quick Overview
This recipe is straightforward and satisfying: assemble simple sandwiches, wrap them in bacon, butter the outside, and cook until the bacon is crisp and the cheese is perfectly melted. The standout element is the contrast between the creamy interior and the crispy bacon exterior. Total time is about 20–30 minutes: 10 minutes prep and 10–15 minutes cooking.
Ingredients
- 8 slices thick sandwich bread, crusts on or removed as preferred
- 8 slices mozzarella cheese, ready to use
- 4 slices cheddar cheese, halved lengthwise so each half fits inside the sandwich
- 8 slices bacon, raw, long enough to wrap around sandwiches (use thin or regular)
- Butter, softened, about 2 tablespoons for grilling (or more as needed)
Directions
- Preheat the grill or a large skillet over medium heat. If using a skillet, add a small pat of butter and let it melt so the pan is lightly greased. The pan should be hot but not smoking.
- Assemble the sandwiches: place one slice of bread on a clean surface, top with one slice of mozzarella and two halves of cheddar arranged evenly so the cheese covers most of the bread. Top with a second slice of bread and press gently to seal.
- Wrap each sandwich: take two slices of bacon and wrap them around the assembled sandwich so the bacon overlaps slightly and covers the sides. Position the bacon seams on the bottom to help secure it. If needed, tuck an end under the sandwich edge.
- Butter the outside: spread a thin, even layer of softened butter on the outer faces of each sandwich. This helps the bread brown and aids in crisping the bacon.
- Cook the sandwiches: place the wrapped sandwiches on the preheated grill or skillet. Cook for about 4–5 minutes per side over medium heat, pressing gently with a spatula to ensure even contact with the pan. Watch for the bacon to crisp and the bread to turn golden brown. If the bacon is browning too fast before the cheese melts, lower the heat and cover the pan for a minute or two to trap heat and finish melting the cheese.
- Rest and slice: remove from heat and let rest for 1 minute to set slightly. Use a sharp knife to slice each sandwich into two or three “fingers.” Serve immediately while the cheese is gooey and the bacon is crisp.
What to Serve With
- Classic tomato soup for a comforting dip-and-bite combo
- Crisp garden salad with a tangy vinaigrette to balance richness
- Pickles or quick-pickled red onions for acidity and crunch
- Honey mustard or spicy aioli as dipping sauces for extra flavor
- Cold beer, iced tea, or a sparkling lemonade for refreshing contrast
Top Tips for Perfecting
- Choose the right bread: thick sandwich bread holds the filling without collapsing. Slightly stale bread can work better for structure.
- Cheese distribution: layer mozzarella for stretch and cheddar for tang. Make sure cheese reaches the edges for even melt.
- Bacon technique: use bacon long enough to wrap fully. If slices are short, overlap two pieces. For extra crispiness, partially cook bacon for 2–3 minutes in the pan before wrapping.
- Heat control: medium heat is key. Too hot and the bacon burns before the cheese melts; too low and you won’t get a crispy exterior.
- Press gently while cooking: a spatula press helps create even contact and golden browning without smashing the sandwich flat.
- Add-ins: thinly sliced tomato, cooked onions, or a smear of Dijon mustard can elevate the flavor — add sparingly to avoid sogginess.
Storing and Reheating Tips
Refrigeration: Store leftovers in an airtight container in the refrigerator for up to 2 days. To keep fingers from getting soggy, place paper towels between layers to absorb moisture.
Freezing: You can freeze fully cooked fingers wrapped individually in plastic wrap, then placed in a freezer bag for up to 1 month. Thaw overnight in the refrigerator before reheating.
Reheating: For best texture, reheat in a preheated skillet or oven at 350°F (175°C) for 8–10 minutes, turning once until bacon is crisp and cheese hot. Avoid microwaving when possible, as it makes bread chewy and bacon less crunchy. For a quick microwave/finish method: microwave 30–45 seconds to heat through, then finish in a hot skillet for 1–2 minutes per side.
FAQs
Can I use different cheeses?
Yes. A blend of mozzarella for stretch and cheddar for flavor works best, but you can substitute Swiss, provolone, or pepper jack for a spicier kick. Avoid very watery cheeses.
Do I need to pre-cook the bacon?
It’s optional. Partially pre-cooking bacon for 2–3 minutes makes it easier to crisp during grilling and reduces total cook time, but raw bacon works fine if you cook over moderate heat until fully crisp.
Can I make these ahead of time?
You can assemble and wrap the sandwiches ahead and keep them refrigerated for a few hours. Cook just before serving for best texture.
How do I stop the cheese from leaking out?
Don’t overfill the sandwiches and ensure cheese sits slightly inset from the edge. Press edges gently to seal. Using two slices of bacon wrapped around the sandwich also helps hold everything together.
Are these kid-friendly?
Absolutely. Slice into small fingers for little hands and skip any spicy add-ins. They’re a fun, hand-held twist on a classic kids’ favorite.
Conclusion
Bacon-Wrapped Grilled Cheese Fingers are a joyful upgrade to an old favorite — easy to make, budget-friendly, and perfect for sharing with family or friends. They’re dependable comfort food with a gourmet twist: gooey cheese, crisp bacon, and golden bread in every bite. If you want to explore a similar idea and see another take on bacon-wrapped grilled cheese, check out this inspiring recipe from Tablespoon: Bacon-Wrapped Grilled Cheese Roll-Ups Recipe – Tablespoon.com
Give this recipe a try tonight — make a batch, share with loved ones, and enjoy every cheesy, bacon-wrapped bite.
Bacon-Wrapped Grilled Cheese Fingers
Equipment
- Grill or Skillet
- Spatula
- Knife
Ingredients
Ingredients
- 8 slices Thick sandwich bread Crusts on or removed as preferred
- 8 slices Mozzarella cheese Ready to use
- 4 slices Cheddar cheese Halved lengthwise
- 8 slices Bacon Raw, long enough to wrap around sandwiches
- 2 tablespoons Butter Softened, for grilling
Instructions
- Preheat the grill or a large skillet over medium heat. If using a skillet, add a small pat of butter and let it melt so the pan is lightly greased.
- Assemble the sandwiches: place one slice of bread on a clean surface, top with one slice of mozzarella and two halves of cheddar. Top with a second slice of bread and press gently to seal.
- Wrap each sandwich: take two slices of bacon and wrap them around the assembled sandwich, overlapping slightly. Position the bacon seams on the bottom.
- Butter the outside: spread a thin, even layer of softened butter on the outer faces of each sandwich.
- Cook the sandwiches: place the wrapped sandwiches on the preheated grill or skillet. Cook for about 4–5 minutes per side, pressing gently with a spatula.
- Rest and slice: remove from heat and let rest for 1 minute. Use a sharp knife to slice each sandwich into two or three fingers.