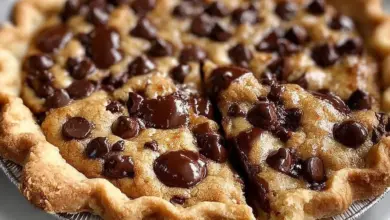
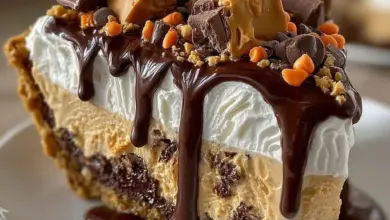
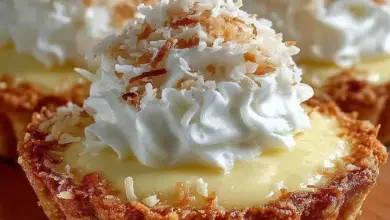
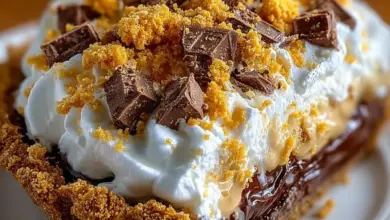
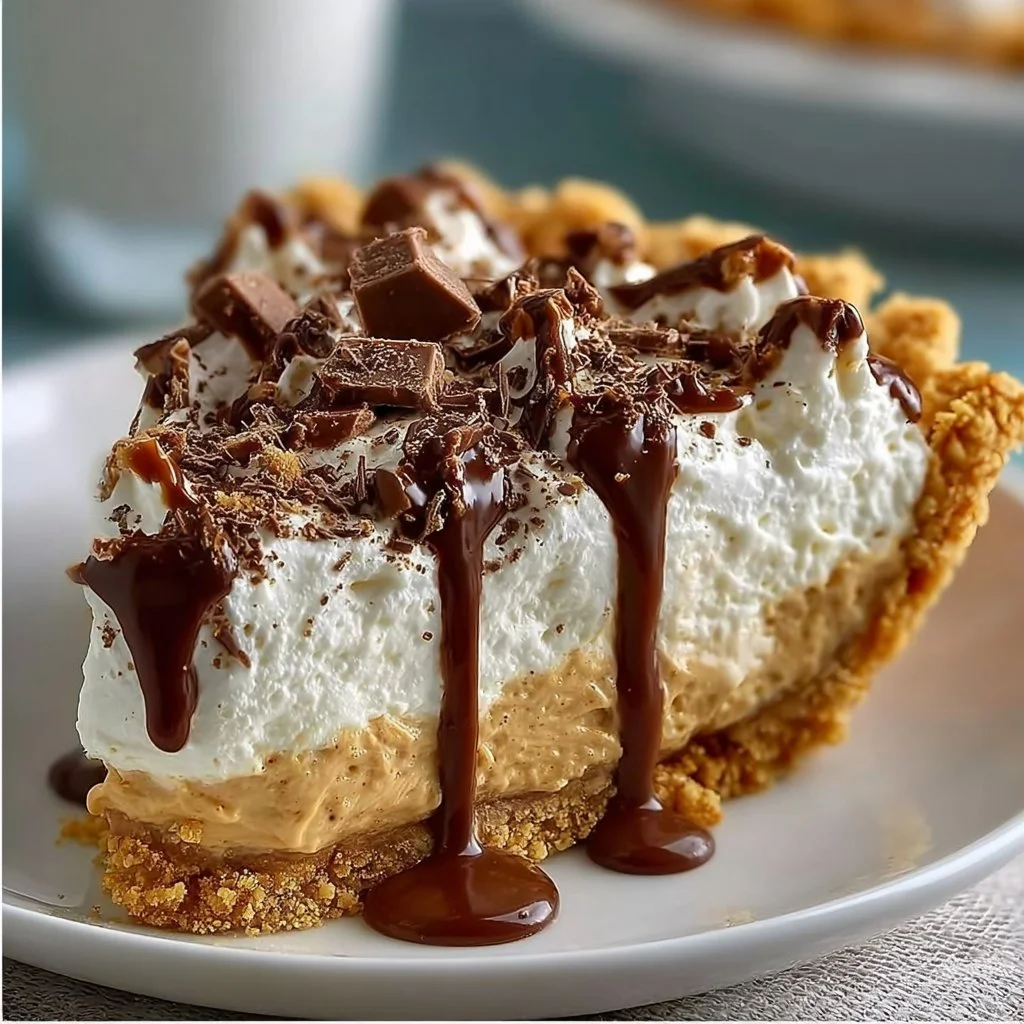
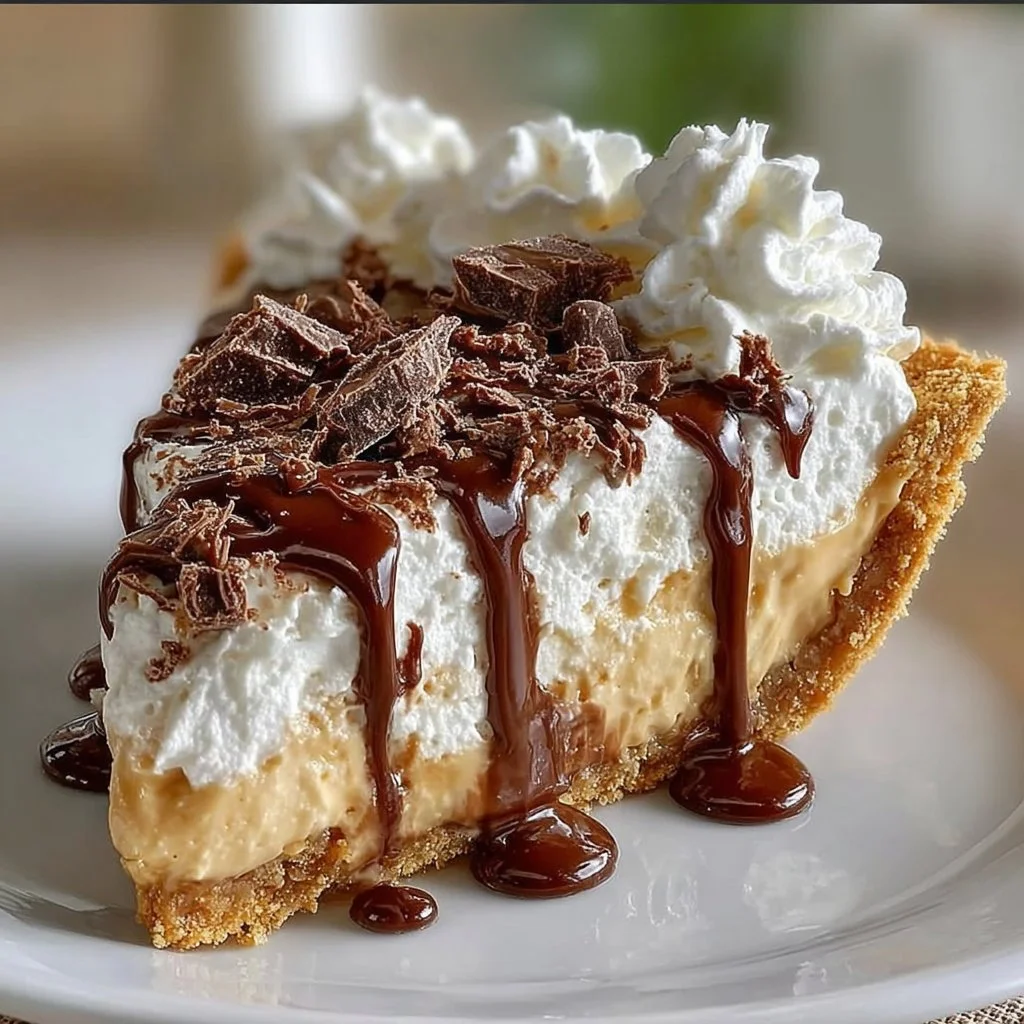
Old-Fashioned Amish Peanut Butter Dream Pie
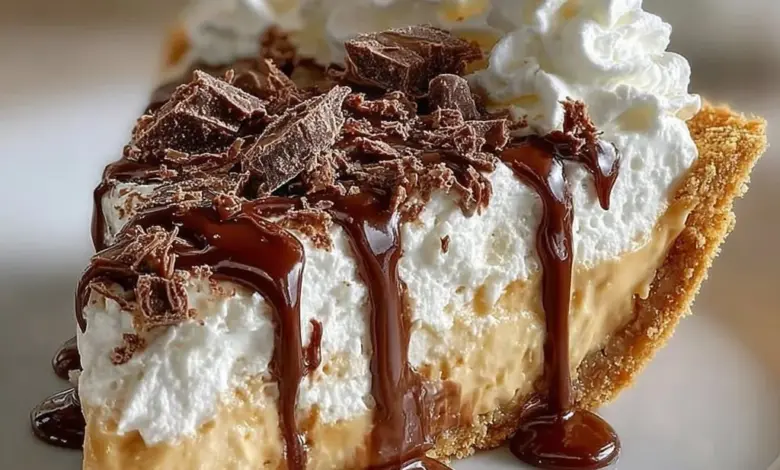
Creamy, comforting, and wildly satisfying — this Old-Fashioned Amish Peanut Butter Dream Pie is the kind of dessert that makes every family gathering feel cozy. Imagine a crisp graham cracker crust cradling a velvety peanut butter filling whipped light with cream, finished with a cloud of whipped topping and a sprinkling of chocolate. Fun fact: many Amish recipes favor simple ingredients and straightforward techniques, which is why this pie tastes homemade in the best way possible.
What makes this pie special is its simplicity and the nostalgia it evokes. It comes together quickly with pantry staples, so you can have it chilling in the fridge by the time dinner plates are cleared. It’s family-friendly, kid-approved, and pairs beautifully with coffee or a tall glass of milk. If you liked our No-Bake Chocolate Silk Pie, you’ll find this peanut butter dream just as indulgent but with a nutty, old-fashioned twist. Get excited — this pie is easy to make and impossible not to love.
What is Old-Fashioned Amish Peanut Butter Dream Pie?
Who named it that — an Amish grandma with a twinkle in her eye? Maybe. The name conjures images of farmhouse kitchens, simple comforts, and desserts that feel like a hug. Why “Amish”? Because it borrows the no-fuss, homestyle approach they’re known for: quality ingredients, minimal fuss, and reliable results. Why “Dream”? Because the texture is literally dreamy — creamy peanut butter folded into whipped cream so it melts on the tongue.
Could it also be that “the way to a man’s heart is through his stomach.” — and perhaps through a slice of this pie too? Try it and you’ll see why everyone comes back for seconds. Don’t be shy: give this slice of Americana a place at your table.
Why You’ll Love This:
- Creamy, balanced flavor: The peanut butter filling is rich but softened by whipped cream, giving you a luscious texture that isn’t overpowering.
- Budget-friendly and pantry-ready: With simple staples like graham crackers, peanut butter, powdered sugar, and cream, you save compared to buying specialty desserts.
- Customizable toppings: Add chocolate shavings, chopped peanuts, or a drizzle of caramel for contrast and texture.
Compared to our popular No-Bake Chocolate Silk Pie, this peanut butter version is lighter and nuttier while still delivering that ultra-satisfying, spoon-stopping flavor. Make it for family dinners, potlucks, or any time you want a dessert that feels homemade and unforgettable. Go on — treat yourself and your loved ones.
How to Make:
Quick Overview
This recipe is incredibly straightforward: press a graham cracker crust, bake briefly to set, then whip together a peanut butter filling that gets folded with whipped cream for airy richness. The result is a creamy, slightly fluffy pie with a crisp base. Total active prep time is about 20 minutes, with at least 2 hours of refrigeration to chill and set.
Prep time: 20 minutes
Bake time: 10 minutes (for crust)
Chill time: 2 hours
Ingredients
1 1/2 cups graham cracker crumbs
1/4 cup granulated sugar
1/2 cup unsalted butter, melted
1 cup creamy peanut butter
1 cup powdered sugar
1 cup whipped cream
1 teaspoon vanilla extract
Directions
- Preheat the oven to 350°F (175°C). Make sure the oven rack is in the center position for even baking.
- In a mixing bowl, combine graham cracker crumbs, granulated sugar, and melted butter. Mix well until the crumbs are evenly moistened and resemble wet sand. Press the mixture firmly into the bottom and slightly up the sides of a 9-inch pie pan to form the crust. Use the bottom of a measuring cup to press evenly.
- Bake the crust for about 10 minutes, then let it cool. Remove from the oven and allow it to cool on a wire rack for at least 15–20 minutes so the crust firms up.
- In another bowl, mix together the peanut butter, powdered sugar, and vanilla extract until smooth. Use a rubber spatula or electric mixer on low to combine if needed. Make sure there are no lumps.
- Fold in the whipped cream until well combined. Gently fold in the whipped cream with a spatula to keep the mixture light and airy — don’t overmix or you’ll lose volume.
- Pour the peanut butter filling into the cooled crust and spread evenly. Smooth the top with an offset spatula or the back of a spoon for a clean finish.
- Refrigerate for at least 2 hours before serving. Chilling helps the filling set so slices hold cleanly. For best texture, chill 3–4 hours or overnight.
- Optional: Top with additional whipped cream and chocolate shavings. Add chopped peanuts or a drizzle of melted chocolate for visual appeal and an extra crunch.
What to Serve With:
- Fresh berries or a simple berry salad to cut through the richness.
- A dollop of extra whipped cream or a scoop of vanilla ice cream for an indulgent plate.
- Coffee, espresso, or a cold milkshake for classic pairings.
- A light green salad with a citrus vinaigrette if serving as part of a larger meal to balance flavors.
Top Tips for Perfecting:
- Ingredient substitutions: Use natural creamy peanut butter for a more pronounced peanut flavor; note that natural peanut butter can be a little oilier. For a lighter version, use low-fat cream or light whipped topping, but the texture will be slightly less luxurious.
- Timing adjustments: Chill longer for firmer slices. If short on time, place the pie in the coldest part of your fridge and chill for a minimum of 90 minutes (still best after 2 hours).
- Flavor enhancements: Add a pinch of salt to the filling if using unsalted or very sweet peanut butter to balance flavors. Stir in 2 tablespoons of cocoa powder for a peanut butter-chocolate variation.
- Common mistakes to avoid: Don’t overmix whipped cream into the filling — fold gently to keep airiness. Also, press the crust firmly so it holds together when sliced.
Storing and Reheating Tips:
- Refrigeration: Store leftovers covered in the refrigerator for up to 4 days. Keep tightly covered to prevent the crust from softening too much.
- Freezing: You can freeze the whole pie (wrapped tightly in plastic and foil) for up to 1 month. Thaw in the refrigerator overnight before serving. Note: whipped cream textures may change slightly after freezing.
- Reheating: This pie is served chilled — do not reheat. If the crust softens over time, you can briefly crisp slices in a toaster oven at low temperature for a minute, but this is optional and may change the filling texture.
FAQs
Can I use a pre-made graham cracker crust instead of making my own?
Yes. A store-bought graham cracker crust works perfectly and saves time. Just skip the crust-baking step and fill the pre-made shell.
Can I make this pie without dairy?
You can substitute non-dairy whipped topping and a dairy-free butter alternative for the crust. Use a stable non-dairy whipped product for best results.
How can I make the pie more chocolatey?
Fold in 2 tablespoons of unsweetened cocoa powder into the peanut butter mixture or top the pie with a layer of melted chocolate that’s cooled slightly before chilling.
Is this pie safe to freeze?
Yes, freeze well-wrapped for up to 1 month. Thaw in the fridge overnight. Expect a slight change in whipped cream texture after freezing.
Can I double the recipe for a crowd?
Absolutely. Double the ingredients and use a larger pie plate or two standard 9-inch pans. Adjust chilling time if needed.
Conclusion
This Old-Fashioned Amish Peanut Butter Dream Pie is a timeless, simple dessert that’s creamy, comforting, and easy enough for any home cook to master. It’s perfect for family gatherings, potlucks, or a weekend treat and shows how a few good ingredients can create something memorable. If you want another take on Amish-style peanut butter pies, check out this detailed guide: How To Make a Perfect Amish Peanut Butter Cream Pie. Give this recipe a try, share it with loved ones, and enjoy every dreamy bite.
Old-Fashioned Amish Peanut Butter Dream Pie
Equipment
- Mixing Bowl
- Pie Pan
- Whisk
Ingredients
Crust Ingredients
- 1.5 cups Graham cracker crumbs
- 0.25 cup Granulated sugar
- 0.5 cup Unsalted butter, melted
Filling Ingredients
- 1 cup Creamy peanut butter
- 1 cup Powdered sugar
- 1 cup Whipped cream
- 1 teaspoon Vanilla extract
Instructions
- Preheat the oven to 350°F (175°C). Make sure the oven rack is in the center position for even baking.
- In a mixing bowl, combine graham cracker crumbs, granulated sugar, and melted butter. Mix well until the crumbs are evenly moistened and resemble wet sand. Press the mixture firmly into the bottom and slightly up the sides of a 9-inch pie pan to form the crust.
- Bake the crust for about 10 minutes, then let it cool. Remove from the oven and allow it to cool on a wire rack for at least 15–20 minutes so the crust firms up.
- In another bowl, mix together the peanut butter, powdered sugar, and vanilla extract until smooth. Use a rubber spatula or electric mixer on low to combine if needed. Make sure there are no lumps.
- Fold in the whipped cream until well combined. Gently fold in the whipped cream with a spatula to keep the mixture light and airy — don’t overmix or you’ll lose volume.
- Pour the peanut butter filling into the cooled crust and spread evenly. Smooth the top with an offset spatula or the back of a spoon for a clean finish.
- Refrigerate for at least 2 hours before serving. Chilling helps the filling set so slices hold cleanly. For best texture, chill 3–4 hours or overnight.
- Optional: Top with additional whipped cream and chocolate shavings. Add chopped peanuts or a drizzle of melted chocolate for visual appeal and an extra crunch.