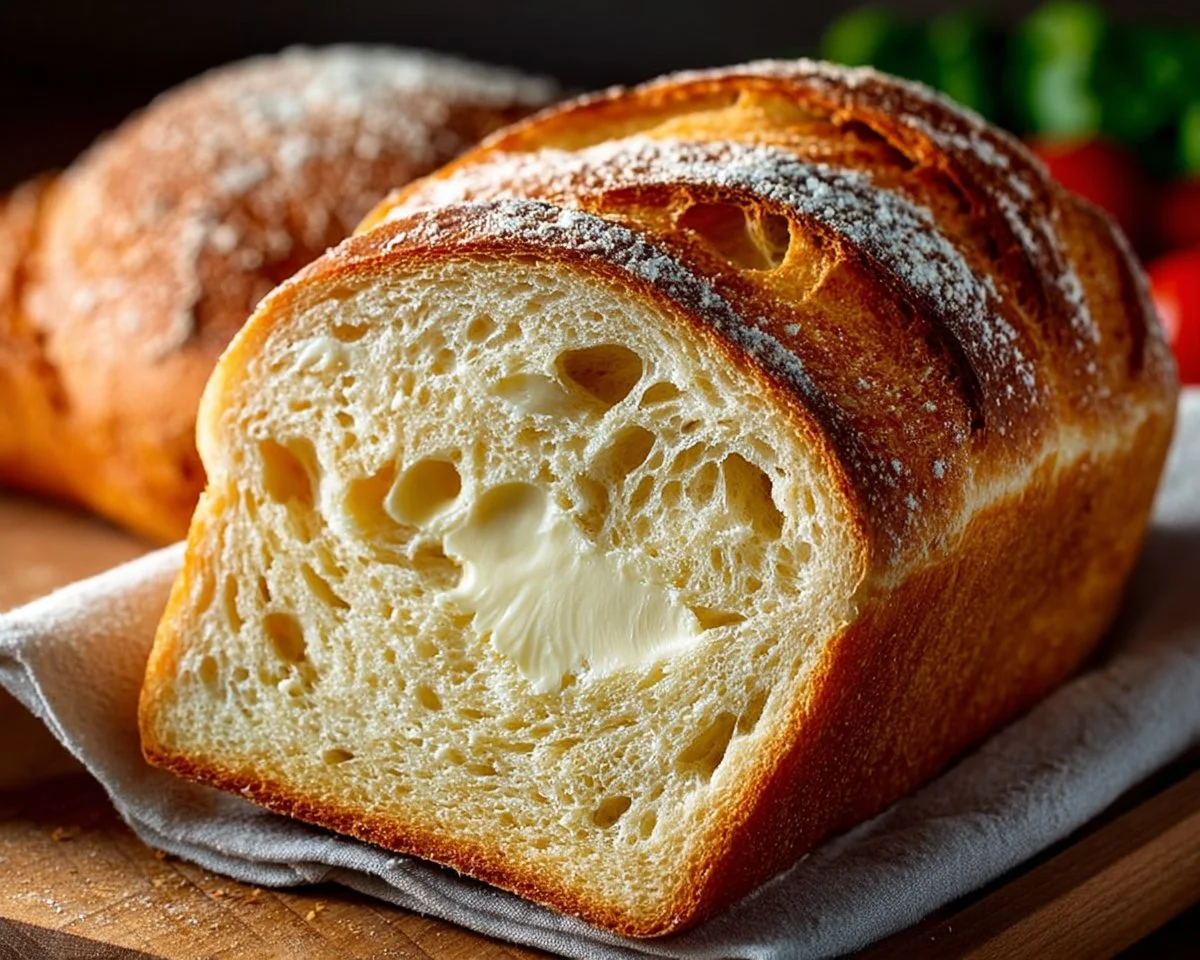
Sourdough Sandwich Bread

Creamy crumb, soft crust, and the kind of comforting flavor that makes toast suddenly feel like a hug — that’s Sourdough Sandwich Bread in a nutshell. This loaf brings the gentle tang of a mature sourdough starter into a soft, sandwich-ready shape that’s perfect for school lunches, hearty sandwiches, or simply buttered and gobbled at breakfast. Fun fact: many home bakers save their sourdough discard for cookies, pancakes, or this very bread — it’s thrifty and delicious.
This recipe stands out because it’s simple, quick to prepare compared with other sourdough loaves, and is incredibly family-friendly. If you love cozy baked goods, you might also enjoy our apple cinnamon bread for a sweeter spin — both are great ways to use pantry staples and impress the people you feed. Ready to knead, rise, and bake your way to slices of happiness? Let’s get started.
What is Sourdough Sandwich Bread?
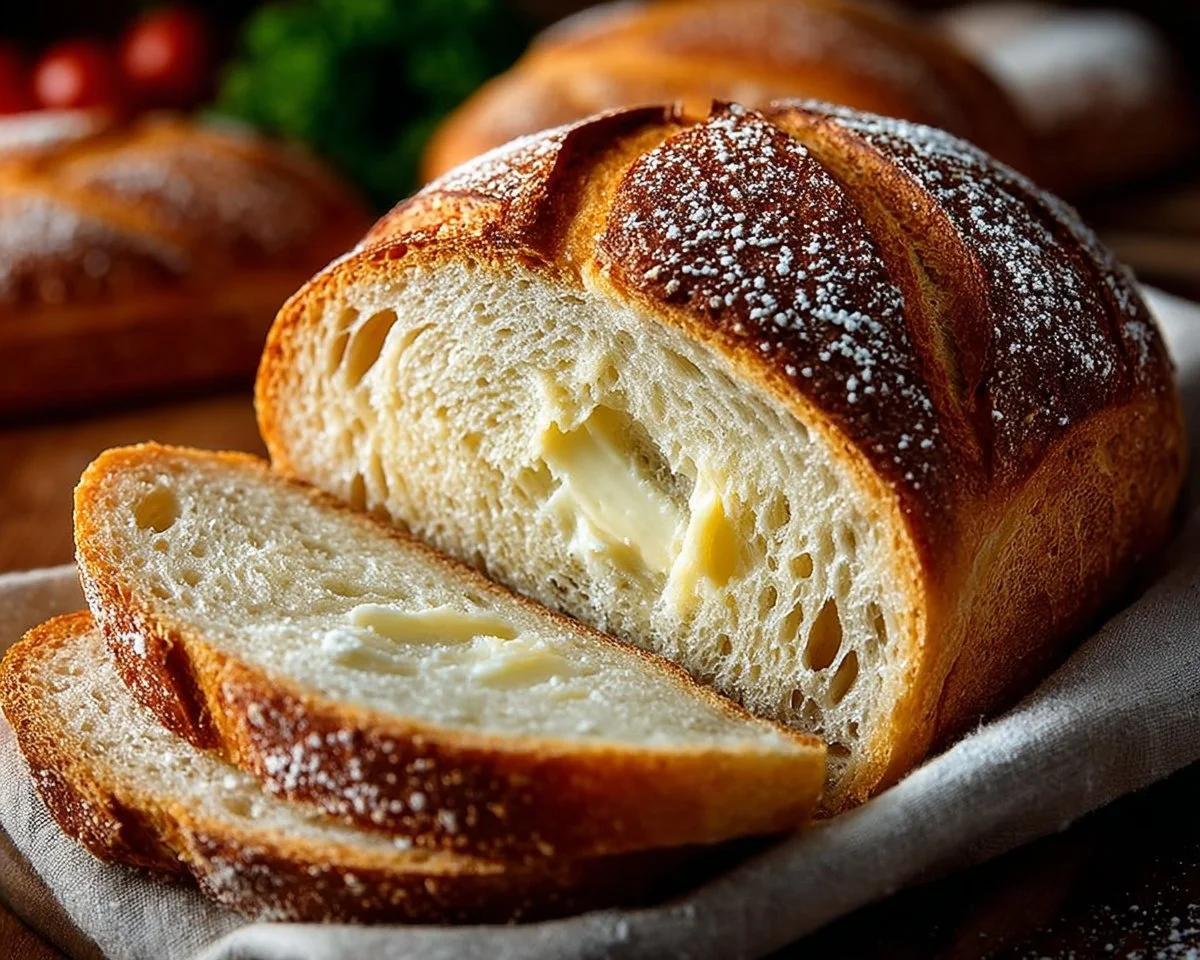
What’s in a name? Sourdough Sandwich Bread is exactly what it sounds like: a sourdough-based loaf designed with sandwiches in mind. Why the “sandwich” part — is it wearing a tiny hat and holding a toothpick? Maybe. The truth is, this loaf is softer and more uniform than a rustic boule, making it perfect for square slices and stacked fillings. And yes, many bakers swear by the old kitchen proverb “the way to a man’s heart is through his stomach.” Whether you’re feeding picky kids, a hungry partner, or a crowd, this bread delivers familiar comfort with a tangy, homemade twist. Try it and see how quickly it disappears.
Why You’ll Love This
There are three big reasons this recipe becomes a staple fast:
- Balanced tang and tenderness: The sourdough starter gives a mild, pleasant tang while the combination of bread flour and whole wheat keeps the crumb soft and slightly nutty — perfect for both plain toast and loaded sandwiches.
- Cost-saving and sustainable: Making bread at home saves money compared with store-bought artisan loaves, and it’s a great way to use up an active sourdough starter or discard. Fresh loaves also mean fewer preservatives and better control over ingredients.
- Flavor and versatility: From a smear of butter to avocado toast, the flavors pair beautifully with sweet or savory toppings. Try it alongside a robust soup or use it for grilled cheese to see how the texture elevates the experience.
If you like fiddling with bread recipes, this loaf is simpler than many artisan crusty breads and more forgiving than some delicate brioche recipes. Go on — bake a loaf and share the results with friends.
How to Make
Quick Overview
This Sourdough Sandwich Bread is easy to make because it uses simple techniques: mix, knead, rise, shape, and bake. The result is a tender crumb with just enough sourdough tang to be interesting without overpowering. Standout elements include the resilient but soft texture ideal for slicing, and a warm, slightly nutty flavor from the whole wheat. Expect about 15 minutes active prep, 4 to 6 hours bulk fermentation, and 25 to 35 minutes baking time.
Ingredients
- 3 cups Bread Flour, measured and leveled
- 1 cup Whole Wheat Flour, measured and leveled
- 1.5 cups Water, lukewarm (about 75°F / 24°C)
- 1 tablespoon Salt, fine or kosher
- 1 tablespoon Honey (optional), room temperature
- 1 cup Sourdough Starter, active and bubbly (fed 4–12 hours before using)
Directions
- In a large mixing bowl, combine the 3 cups bread flour, 1 cup whole wheat flour, and 1 tablespoon salt. Whisk briefly so the salt is evenly distributed and there are no flour lumps.
- Add 1 cup active sourdough starter, 1 tablespoon honey (if using), and 1.5 cups lukewarm water to the dry ingredients. Use a wooden spoon or your hand to mix until a shaggy dough forms and there are no dry patches. The dough will be slightly sticky.
- Turn the dough onto a lightly floured surface and knead for about 8 to 10 minutes until it becomes smooth and elastic. If the dough sticks too much, sprinkle a little flour, but avoid adding too much — a slightly tacky dough yields a lighter loaf.
- Place the kneaded dough in a lightly greased bowl, cover with a damp towel or plastic wrap, and let it rise at room temperature for 4 to 6 hours, or until it has roughly doubled in size. Timing depends on starter strength and room temperature.
- About 30 minutes before shaping, preheat your oven to 450°F (230°C) and place a Dutch oven (or heavy lidded pot) inside to heat up. Heating the pot creates steam for a better crust.
- Gently deflate the risen dough and shape it into a loaf: fold the edges into the center, flip seam-side down, and roll into a smooth log that fits your loaf pan or will sit on parchment. Place it into a greased loaf pan or on parchment paper for the Dutch oven.
- Cover and let the shaped loaf proof for another 30 to 60 minutes until slightly puffy. It won’t double again but should show a gentle rise.
- Carefully remove the hot Dutch oven from the oven. If using parchment, lift the dough by the paper and place it inside the pot. Cover and bake for 15 minutes to trap steam.
- Remove the lid and bake for an additional 10 to 15 minutes, until the crust is golden brown and the internal temperature reaches about 205°F (96°C). A loaf in a pan may take slightly less time; check visually and with a thermometer.
- Remove the loaf and let it cool completely on a wire rack before slicing to ensure the crumb sets and slicing is clean.
What to Serve With
- Classic grilled cheese with sharp cheddar for melty contrast
- Thick-cut bacon and avocado for a deluxe brunch sandwich
- Tomato soup for a cozy lunch pairing
- A crisp green salad dressed in lemon vinaigrette to balance the bread’s richness
- Butter and jam or honey for simple toast at breakfast
If you want heartier sides, a bowl of chunky vegetable soup or a serving of roasted root vegetables makes a satisfying meal.
Top Tips for Perfecting
- Starter readiness: Use an active, bubbly starter fed within the last 4–12 hours for best rise.
- Flour swap: If you prefer an all-white loaf, replace the whole wheat with an additional cup of bread flour. For more nutrition, increase whole wheat to 1.25 cups but expect a slightly denser crumb.
- Kneading: If you’re short on kneading patience, use a series of stretch and folds during the first 2 hours of bulk fermentation instead of a long knead.
- Hydration: If your dough feels too sticky, add a tablespoon of flour at a time; too dry, add a teaspoon of water. Aim for a soft, slightly tacky dough.
- Crust control: For a softer crust, brush the loaf with melted butter as soon as it comes out of the oven. For a crisper crust, place the loaf directly on a pizza stone and skip the butter.
- Common mistakes: Don’t underproof — the loaf will be dense; don’t overproof — it can collapse in the oven. Use visual cues (doubling and puffiness) over strict times when possible.
Storing and Reheating Tips
- Room temperature: Store the cooled loaf in a paper bag or loosely wrapped in a clean towel for 2 days to keep the crust pleasant.
- Refrigerator: Refrigeration tends to dry bread faster; only refrigerate if you plan to keep it for more than 3 days.
- Freezing: Slice before freezing for convenience. Wrap tightly in plastic wrap and place in a freezer bag. Keeps well for up to 3 months. To use, toast slices directly from frozen or thaw at room temperature and reheat in a 350°F oven for 10–12 minutes.
- Reheating: For best texture, refresh slices in a toaster or under the broiler for 1–2 minutes. To revive a whole loaf, wrap in foil and heat at 350°F for 10–15 minutes.
FAQs
What if my starter isn’t very active?
If your starter is sluggish, feed it a few times over 24 hours to encourage activity. You can also increase the bulk fermentation time slightly, but results are better with a bubbly starter.
Can I make this without whole wheat flour?
Yes. Swap the 1 cup whole wheat for 1 cup bread flour for a milder, softer loaf. Keep in mind the flavor and nutrition will be different.
How do I know when the bread is done?
The internal temperature should be around 205°F (96°C). You can also tap the bottom of the loaf — it should sound hollow.
Can I use a stand mixer instead of kneading by hand?
Absolutely. Use the dough hook on low to medium speed for 6–8 minutes until the dough is smooth and elastic.
How long does the dough need to rise in total?
Total rising time depends on your environment and starter, but plan for 4–6 hours bulk fermentation plus 30–60 minutes proofing after shaping.
Conclusion
Sourdough Sandwich Bread is a delightful, everyday loaf that delivers comfort, flavor, and practicality — perfect for breakfast toast, packed lunches, or simple family dinners. It’s forgiving for beginners, rewarding for experienced bakers, and a great way to keep your sourdough starter active. If you want another approachable take on sourdough sandwich loaves, this external resource offers a helpful, easy-to-follow guide: Easy Sourdough Sandwich Bread – The Clever Carrot. Give this recipe a try, slice it thick, and share with people who love good bread.
Sourdough Sandwich Bread
Equipment
- Mixing Bowl
- Dutch Oven
- Loaf Pan
Ingredients
Dry Ingredients
- 3 cups Bread Flour Measured and leveled
- 1 cup Whole Wheat Flour Measured and leveled
- 1 tablespoon Salt Fine or kosher
Wet Ingredients
- 1.5 cups Water Lukewarm (about 75°F / 24°C)
- 1 cup Sourdough Starter Active and bubbly (fed 4–12 hours before using)
- 1 tablespoon Honey Optional, room temperature
Instructions
- In a large mixing bowl, combine the 3 cups bread flour, 1 cup whole wheat flour, and 1 tablespoon salt. Whisk briefly so the salt is evenly distributed and there are no flour lumps.
- Add 1 cup active sourdough starter, 1 tablespoon honey (if using), and 1.5 cups lukewarm water to the dry ingredients. Use a wooden spoon or your hand to mix until a shaggy dough forms and there are no dry patches. The dough will be slightly sticky.
- Turn the dough onto a lightly floured surface and knead for about 8 to 10 minutes until it becomes smooth and elastic. If the dough sticks too much, sprinkle a little flour, but avoid adding too much — a slightly tacky dough yields a lighter loaf.
- Place the kneaded dough in a lightly greased bowl, cover with a damp towel or plastic wrap, and let it rise at room temperature for 4 to 6 hours, or until it has roughly doubled in size.
- About 30 minutes before shaping, preheat your oven to 450°F (230°C) and place a Dutch oven (or heavy lidded pot) inside to heat up.
- Gently deflate the risen dough and shape it into a loaf: fold the edges into the center, flip seam-side down, and roll into a smooth log that fits your loaf pan or will sit on parchment.
- Cover and let the shaped loaf proof for another 30 to 60 minutes until slightly puffy.
- Carefully remove the hot Dutch oven from the oven. If using parchment, lift the dough by the paper and place it inside the pot. Cover and bake for 15 minutes to trap steam.
- Remove the lid and bake for an additional 10 to 15 minutes, until the crust is golden brown and the internal temperature reaches about 205°F (96°C).
- Remove the loaf and let it cool completely on a wire rack before slicing to ensure the crumb sets and slicing is clean.