Rice Krispie Treat Cheesecake
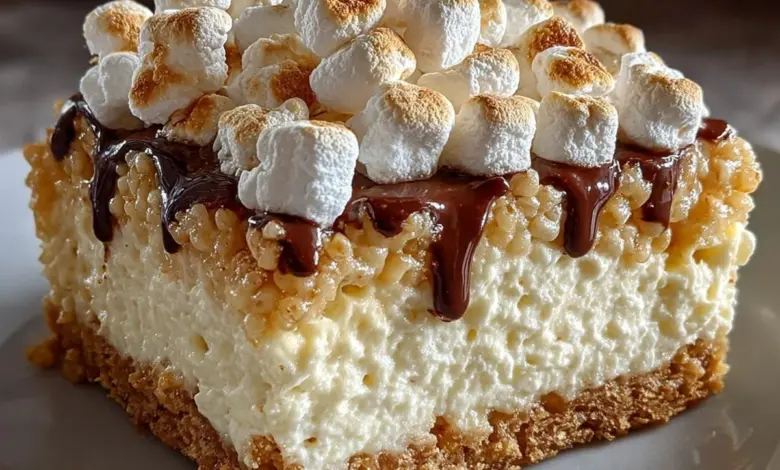
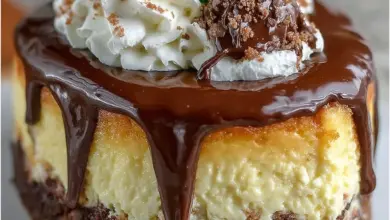
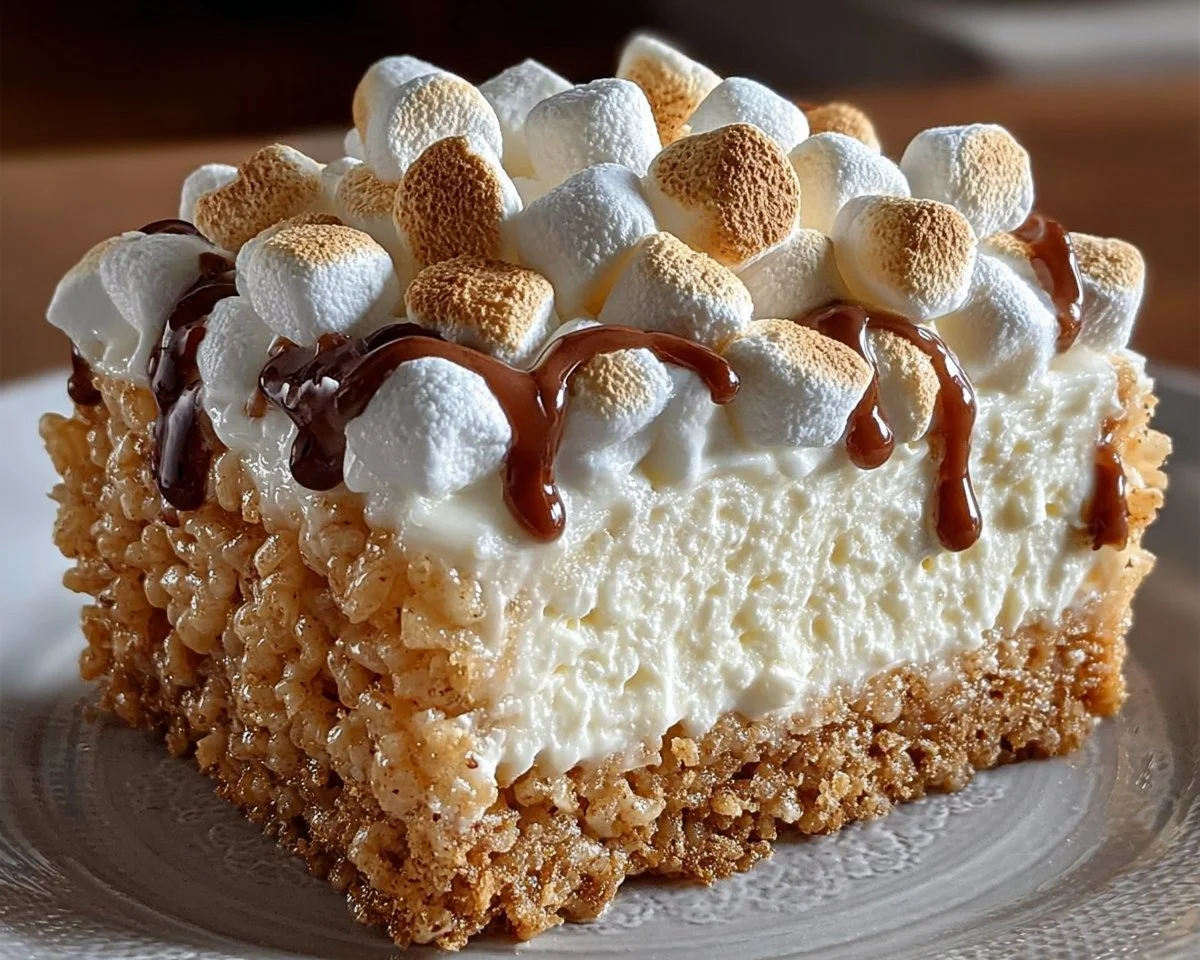
Creamy, crunchy, and wildly nostalgic — this Rice Krispie Treat Cheesecake is the kind of dessert that makes everyone gather around the table. Imagine a rich, velvety cheesecake layered on top of a buttery marshmallow Rice Krispies crust, finished with toasted mini marshmallows and a chocolate drizzle. It hits all the comfort-food notes without being fussy. Fun fact: marshmallows were once considered medicinal, so treating yourself today is practically a health ritual, right?
This recipe is special because it takes two childhood favorites — Rice Krispie treats and classic cheesecake — and marries them into one show-stopping, family-friendly dessert. It’s simple to prepare, quick to assemble, and a guaranteed crowd-pleaser. If you love inventive cheesecake ideas, you might also enjoy this playful twist on desserts like our Apple Pie Cheesecake Tacos, which blends comfort flavors into daring combos. Ready to get baking? You’ll be amazed how fast this becomes a new go-to for parties and weeknights alike.
What is Rice Krispie Treat Cheesecake?
What’s in a name — and why would anyone combine Rice Krispie treats with cheesecake? Is it a crunchy base? A marshmallow hug under creamy filling? The name is exactly that joyful mash-up. Picture a classic Rice Krispie treat pressed into a crust, acting as the crunchy, chewy foundation for a smooth, tangy cheesecake layer. Who could resist?
You might joke that this cake was invented by someone who heard that “the way to a man’s heart is through his stomach,” then decided to double down with marshmallows and chocolate. It’s playful, a little nostalgic, and absolutely delicious. Try it and see if your guests don’t ask for the recipe twice.
Why You’ll Love This
- Decadent contrast: The creamy cheesecake filling set against a chewy, buttery Rice Krispie crust creates a delightful textural contrast that keeps every bite interesting.
- Budget-friendly baking: Making this at home is much less expensive than buying specialty desserts. Pantry staples like marshmallow fluff and Rice Krispies keep costs low while delivering big flavor.
- Customizable toppings: Mini marshmallows, extra cereal for crunch, and a chocolate drizzle mean you can finish the cake to suit any occasion — from kid-friendly birthday parties to elegant dessert tables.
If you enjoy clever cheesecake creations, consider exploring our Banana Caramel Nut Cheesecake for another crowd-pleasing flavor profile. Now grab your mixing bowl — this one is begging to be made.
How to Make
Quick Overview
This Rice Krispie Treat Cheesecake is easy to make, with straightforward steps and familiar ingredients. Preparation is simple: you’ll melt butter and marshmallow fluff for a quick crust, whip a classic cheesecake filling, bake gently, then chill to set. Expect creamy texture, gooey marshmallow notes, and a lightly crisp finish from the Rice Krispie base. Approximate times: Prep 20 minutes, Bake 45–50 minutes, Chill 4+ hours (preferably overnight).
Ingredients
- 3 cups Rice Krispies cereal — for the crust
- 1/4 cup unsalted butter — cut into pieces, room temperature for easier melting
- 1/3 cup marshmallow fluff — for the crust, measured at room temperature
- 16 oz cream cheese — softened to room temperature for smooth mixing
- 1/2 cup granulated sugar — for the filling
- 1 teaspoon vanilla extract — pure vanilla for best flavor
- 2 large eggs — room temperature
- 1/2 cup sour cream — for creaminess, stirred smooth
- 1 cup mini marshmallows — for topping, can be toasted
- 1/2 cup Rice Krispies cereal — extra, for topping and crunch
- 1/4 cup melted chocolate — semi-sweet or milk chocolate, melted for drizzling
Directions
- Prep the Crust: In a medium saucepan over low heat, melt the unsalted butter. Add the marshmallow fluff and stir until smooth. Remove from heat and mix in the Rice Krispies until well-coated. Firmly press the mixture into the bottom of a greased 9-inch springform pan. Set aside.
- Make the Cheesecake Filling: In a large bowl, beat together the softened cream cheese, granulated sugar, and vanilla extract until creamy and smooth. Add in the eggs one at a time, ensuring each is well incorporated before adding the next. Gently fold in the sour cream.
- Combine and Pour: Pour the cheesecake filling over the prepared Rice Krispie crust, smoothing the top with a spatula.
- Bake: Preheat your oven to 325°F (165°C). Bake the cheesecake for 45-50 minutes, or until the center is set but still slightly jiggly. Turn off the oven and leave the door ajar, letting the cheesecake cool in the oven for about one hour.
- Add Toppings: Once cooled, sprinkle mini marshmallows and the extra Rice Krispies over the top, then drizzle with melted chocolate.
- Chill: Refrigerate the cheesecake for at least 4 hours, or overnight, to allow it to set properly.
What to Serve With
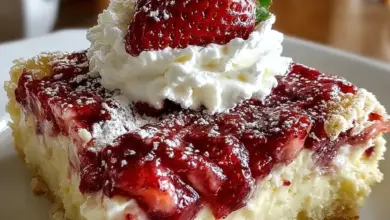
- Fresh berries or a berry compote to balance sweetness with bright acidity.
- Whipped cream or a dollop of crème fraîche for extra creaminess.
- A small salad with citrus vinaigrette if serving as part of a larger meal — it lightens the plate.
- Coffee or a rich hot chocolate pairs wonderfully for an indulgent finish.
Top Tips for Perfecting
- Soften cream cheese fully: Room-temperature cream cheese mixes more smoothly and prevents lumps.
- Don’t overbeat eggs: Mix eggs just until incorporated to avoid adding extra air that can cause cracks.
- Even crust press: Use the back of a measuring cup to press the Rice Krispie crust firmly and evenly.
- Toast mini marshmallows briefly under a broiler for a lightly caramelized top, but watch closely — they burn fast.
- Substitutions: Use light sour cream for a slightly tangier, lower-fat version; gluten-free Rice Krispies work fine for GF needs.
Storing and Reheating Tips
- Refrigeration: Store the cheesecake covered in the refrigerator for up to 4 days. Keep it in a cake carrier or wrap the springform pan tightly with plastic wrap.
- Freezing: To freeze, wrap individual slices in plastic wrap and place in a freezer-safe container for up to 2 months. Thaw overnight in the refrigerator.
- Reheating: Serve chilled. If you prefer slight warmth, let slices sit at room temperature for 15–20 minutes before serving to soften the cheesecake but avoid heating in a microwave, which can melt the marshmallow topping.
FAQs
Can I make this recipe without a springform pan?
You can use a regular 9-inch round cake pan, but line it with parchment and leave extra overhang to lift the cheesecake out. A springform pan is easiest for removing the cake without damage.
Can I use homemade marshmallows instead of marshmallow fluff?
Yes, homemade marshmallows work but may alter sweetness and texture slightly. Measure by volume and melt gently to combine with butter for the crust.
Do I have to bake this cheesecake?
This recipe is designed to be baked for stability and texture. For a true no-bake version, reduce or omit eggs and chill longer; search similar no-bake recipes for ratios and techniques.
How do I prevent cracks on the cheesecake surface?
Avoid overmixing and incorporate eggs slowly. Bake at the lower temperature specified, and cool the cheesecake gradually by leaving the oven door slightly ajar after turning it off.
Can I make this ahead for a party?
Absolutely. Make it a day ahead and chill overnight — flavors develop and the texture firms up perfectly for serving.
Conclusion
This Rice Krispie Treat Cheesecake brings playful nostalgia and grown-up creaminess together in one irresistible dessert. It’s easy to prepare, budget-friendly, and endlessly customizable — perfect for family gatherings, potlucks, or a weekend treat. If you’d like to compare a slightly different approach, check out this inspired take on a similar idea at Rice Krispy Treat No Bake Cheesecake | The Domestic Rebel. Give it a try, share slices with loved ones, and enjoy the smiles that follow.