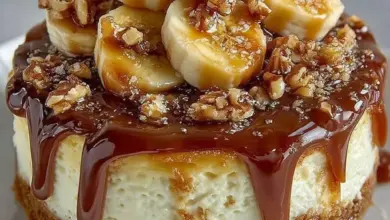
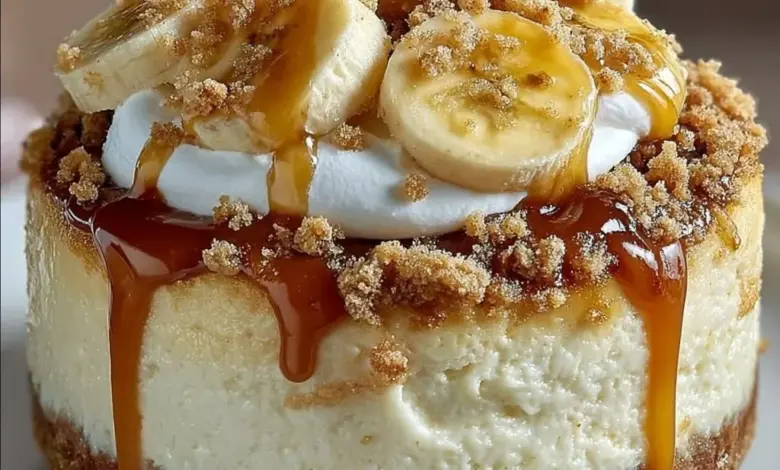
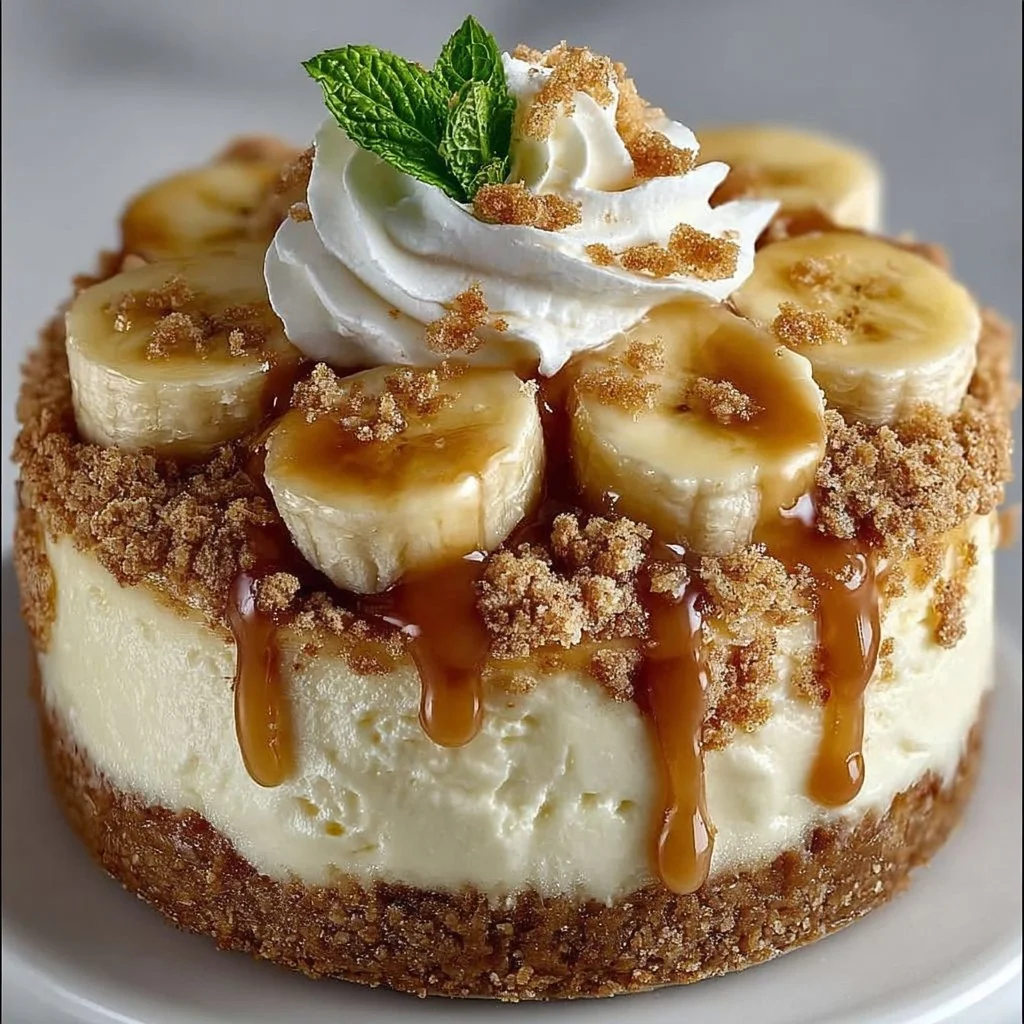
Heavenly Banana Pudding Cheesecake
Creamy, dreamy, and impossibly comforting, this Heavenly Banana Pudding Cheesecake is the kind of dessert that makes everyone ask for seconds. Picture a velvety cheesecake layer studded with banana goodness and a crunchy vanilla wafer crust — it hits all the right notes: creamy, fruity, and just sweet enough. Fun fact: banana pudding was a staple at Southern family gatherings long before it became a trendy dessert, and combining it with cheesecake feels like bringing two beloved classics together at the family table.
This recipe is special because it’s simple to assemble, requires no complicated techniques, and yields a show-stopping dessert that feels homemade and indulgent. It’s quicker than many baked cheesecakes and more comforting than a store-bought pudding. If you’ve tried our classic No-Bake Cheesecake on the blog, you’ll find this one similarly effortless but with the bright, fresh flavor of ripe bananas and a nostalgic twist. Get ready — your next family favorite is only a few steps away.
What is Heavenly Banana Pudding Cheesecake?
Why call it “Heavenly”? Is it the fluffy texture, the banana aroma, or the way forkfuls disappear in record time? Maybe it’s all of the above. Think of a classic banana pudding decided to grow up and wear a tuxedo: richer, smoother, and a little more sophisticated. Ever heard the old line “the way to a man’s heart is through his stomach.”? Well, this cheesecake just might prove it — whether you’re wooing someone or feeding the whole family.
Legend has it a baker mixed two favorites and declared the result heavenly, and the name stuck. Ready to put that legend to the test? Slice a piece, serve it to loved ones, and see if it earns the same applause in your home.
Why You’ll Love This
- Main highlight: The contrast of a crisp vanilla wafer crust with a luxuriously smooth banana-tinged cheesecake filling creates an irresistible texture and flavor combo. Each bite gives you creamy tang, sweet banana, and a gentle crunch.
- Cost-saving benefits: Making this at home uses pantry staples and simple dairy ingredients, saving money compared to store-bought gourmet desserts. Ripe bananas and vanilla wafers are affordable, and a homemade cheesecake stretches to serve many.
- Flavorful toppings: Fresh banana slices on top, a light whipped cream swirl, or a sprinkle of crushed wafers elevate presentation and flavor. The combination of vanilla, banana, and cream cheese is nostalgic and crowd-pleasing.
If you enjoy our Banana Cream Pie or classic cheesecake recipes, you’ll love how this one marries both worlds. Don’t wait — try it and impress friends and family this weekend.
How to Make:
Quick Overview
This recipe is easy, delicious, and satisfying because it requires minimal hands-on time and no complex equipment. You’ll prepare a buttery vanilla wafer crust, whip up a smooth cream cheese and banana filling, fold in whipped cream for lightness, and chill until set. The result is a creamy texture with fresh banana flavor and a slightly crisp crust. Prep time is about 20 minutes, plus at least 4 hours of chilling time (overnight is best) to let flavors meld and the cheesecake firm up.
Ingredients:
- 2 cups crushed vanilla wafers (about 1 standard 11-ounce bag, crushed finely)
- 1/2 cup unsalted butter, melted (room temperature preferred)
- 1/4 cup granulated sugar
- 4 ripe bananas (2 to mash, 2 to slice for topping)
- 2 cups cream cheese, softened (room temperature for easy mixing)
- 1 cup powdered sugar (confectioners’ sugar)
- 1 teaspoon vanilla extract
- 2 cups whipped cream (homemade or store-bought, lightly sweetened)
- 1 cup milk (for smoothing or optional to thin filling slightly if needed)
Directions:
- Preheat the oven to 350°F (175°C).
- In a mixing bowl, combine crushed vanilla wafers, melted butter, and granulated sugar. Press this mixture into the bottom of a springform pan to form the crust.
- Bake the crust for 10 minutes, then let it cool.
- In another bowl, beat together the cream cheese, powdered sugar, and vanilla extract until smooth.
- In a separate bowl, mash 2 of the bananas and fold into the cream cheese mixture.
- Gently fold in the whipped cream.
- Pour the cream cheese mixture over the cooled crust.
- Slice the remaining bananas and layer them on top of the cheesecake.
- Refrigerate for at least 4 hours or overnight.
- Serve chilled and enjoy your cheesecake!
What to Serve With
Pair this cheesecake with light, refreshing sides and beverages to balance its richness:
- Fresh berry salad (strawberries, blueberries, raspberries) adds bright acidity.
- A simple mixed green salad with a citrus vinaigrette keeps the meal light.
- Espresso or cold-brew coffee complements the sweet banana and vanilla notes.
- A scoop of vanilla bean ice cream for an extra indulgent treat.
- Caramel sauce or a drizzle of melted chocolate for those who love extra sweetness.
Top Tips for Perfecting
- Use room-temperature cream cheese: This prevents lumps and helps the filling become ultra-smooth.
- Choose ripe but firm bananas: Overripe bananas work for mashing into the filling, but use slightly firmer bananas for slicing on top to avoid browning or mushiness.
- Press the crust firmly: Use a flat-bottomed measuring cup to compact the crust evenly so it holds together when sliced.
- Don’t overmix after adding whipped cream: Fold gently to keep the filling light and airy.
- Chill long enough: At least 4 hours is required, but overnight gives the cleanest slices and best flavor melding.
- Substitutions: You can swap graham crackers for vanilla wafers, or use a reduced-fat cream cheese for a lighter version (texture will be slightly different).
- Avoid freezing as a first choice: Freezing can change texture; refrigerate for best results.
Storing and Reheating Tips
- Refrigeration: Store leftovers tightly covered in the refrigerator for up to 4 days. Keep any sliced bananas fresh by pressing plastic wrap directly onto the surface to limit browning.
- Freezing: You can freeze slices wrapped individually in plastic and then foil for up to 1 month. Thaw overnight in the refrigerator before serving.
- Reheating: This dessert is best served chilled. If you prefer a slightly warmer slice, let it sit at room temperature for 10 to 15 minutes — do not microwave, as that can make the texture grainy.
- Shelf life: Best enjoyed within 3 to 4 days refrigerated for peak flavor and texture.
FAQs
Can I make this cheesecake ahead of time?
Yes. Make it the day before serving and refrigerate overnight to let flavors develop and the cheesecake set firmly.
Can I use low-fat cream cheese or sour cream?
You can, but texture may be slightly less rich and creamy. Full-fat cream cheese yields the best texture and mouthfeel.
How do I prevent the banana slices on top from browning?
Brush the slices with a little lemon juice or place them on the cheesecake just before serving to reduce browning.
Is it possible to make this gluten-free?
Yes. Use gluten-free vanilla wafers or substitute with a gluten-free graham cracker crust to make the recipe suitable for gluten-free diets.
Can I bake this cheesecake instead of chilling it?
This recipe is designed as a no-bake chilled cheesecake. Baking would require a reworked recipe and different proportions to avoid cracking and ensure proper set.
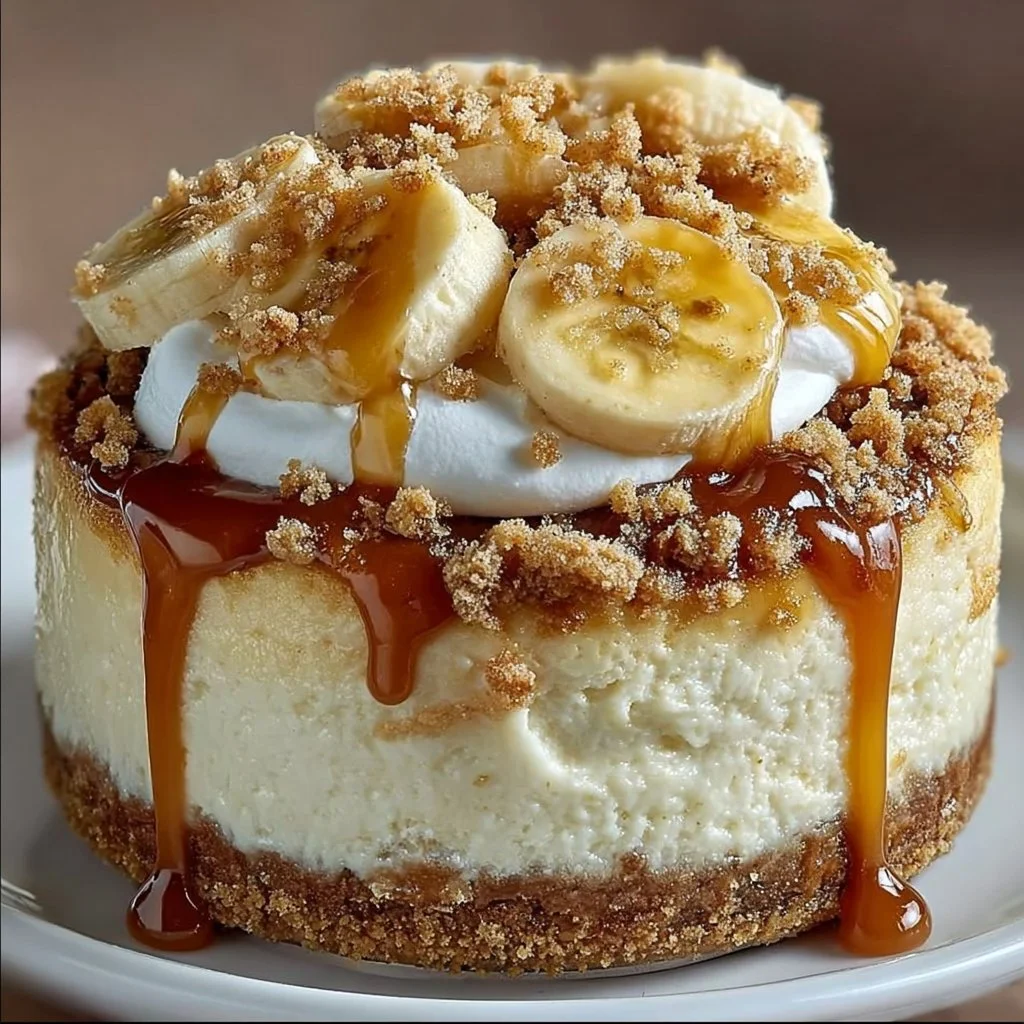
Conclusion
This Heavenly Banana Pudding Cheesecake is an easy, crowd-pleasing dessert that combines beloved flavors into a luscious, family-friendly treat. With a buttery vanilla wafer crust, a silky banana cream cheese filling, and fresh banana slices on top, it’s simple to prepare and saves money compared to restaurant desserts. Try it for your next gathering — and if you’d like another take on the same idea, check out this excellent Banana Pudding Cheesecake Recipe for more inspiration. Share a slice with someone you love and watch it disappear.
Heavenly Banana Pudding Cheesecake
Equipment
- Mixing Bowl
- Springform Pan
Ingredients
Crust Ingredients
- 2 cups crushed vanilla wafers (about 1 standard 11-ounce bag, crushed finely)
- 1/2 cup unsalted butter (melted, room temperature preferred)
- 1/4 cup granulated sugar
Filling Ingredients
- 4 ripe bananas (2 to mash, 2 to slice for topping)
- 2 cups cream cheese (softened, room temperature for easy mixing)
- 1 cup powdered sugar (confectioners’ sugar)
- 1 teaspoon vanilla extract
- 2 cups whipped cream (homemade or store-bought, lightly sweetened)
- 1 cup milk (for smoothing or optional to thin filling slightly if needed)
Instructions
- Preheat the oven to 350°F (175°C).
- In a mixing bowl, combine crushed vanilla wafers, melted butter, and granulated sugar. Press this mixture into the bottom of a springform pan to form the crust.
- Bake the crust for 10 minutes, then let it cool.
- In another bowl, beat together the cream cheese, powdered sugar, and vanilla extract until smooth.
- In a separate bowl, mash 2 of the bananas and fold into the cream cheese mixture.
- Gently fold in the whipped cream.
- Pour the cream cheese mixture over the cooled crust.
- Slice the remaining bananas and layer them on top of the cheesecake.
- Refrigerate for at least 4 hours or overnight.
- Serve chilled and enjoy your cheesecake!