Giant Reese’s Peanut Butter Cup
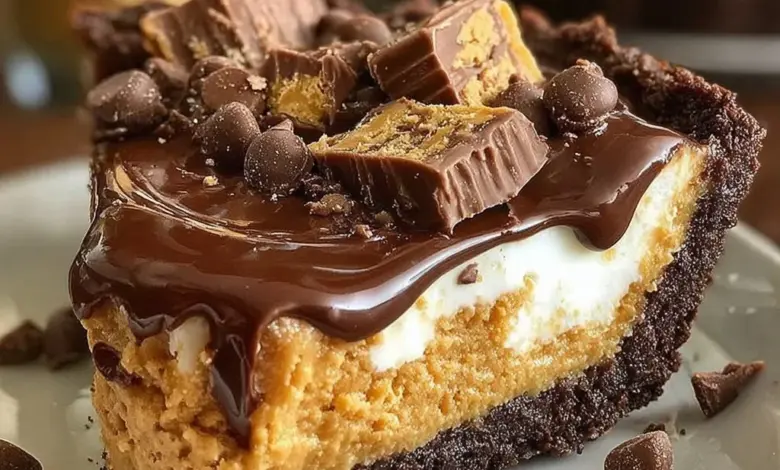
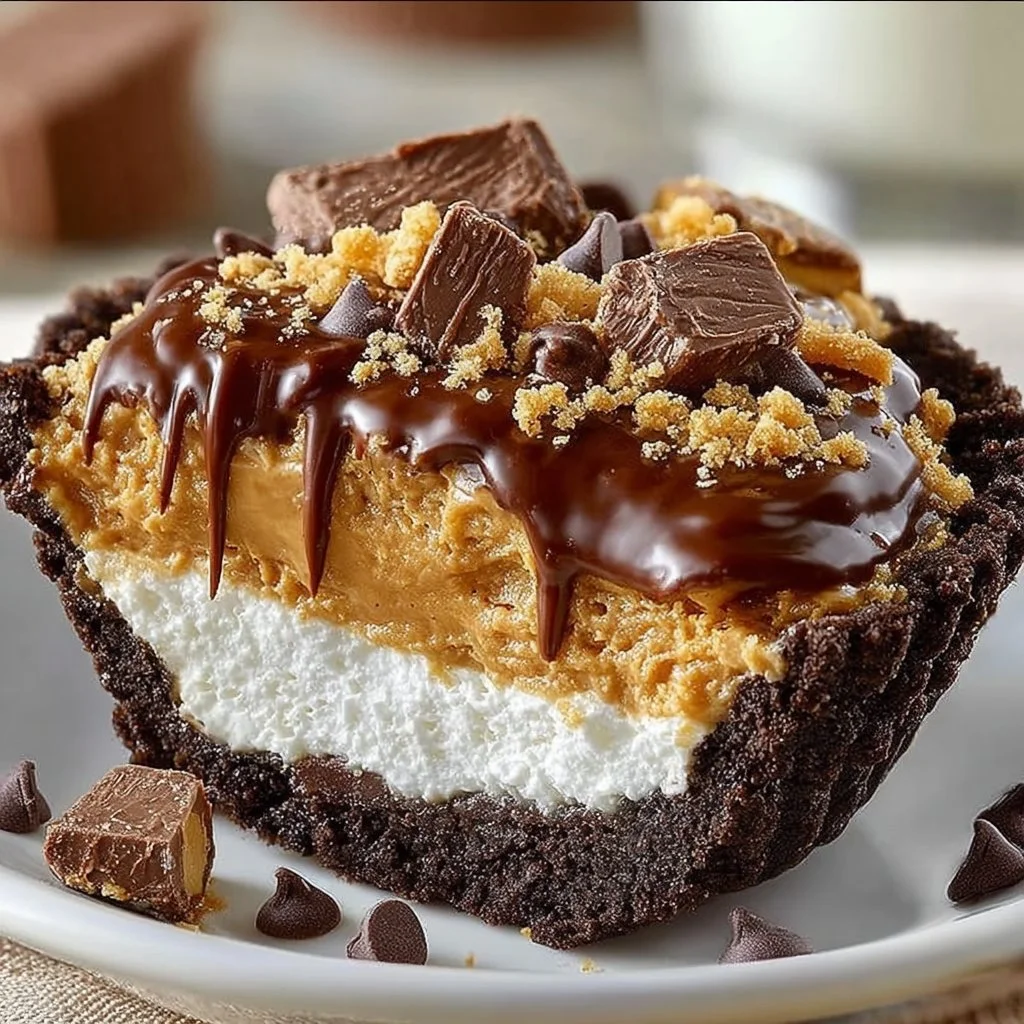
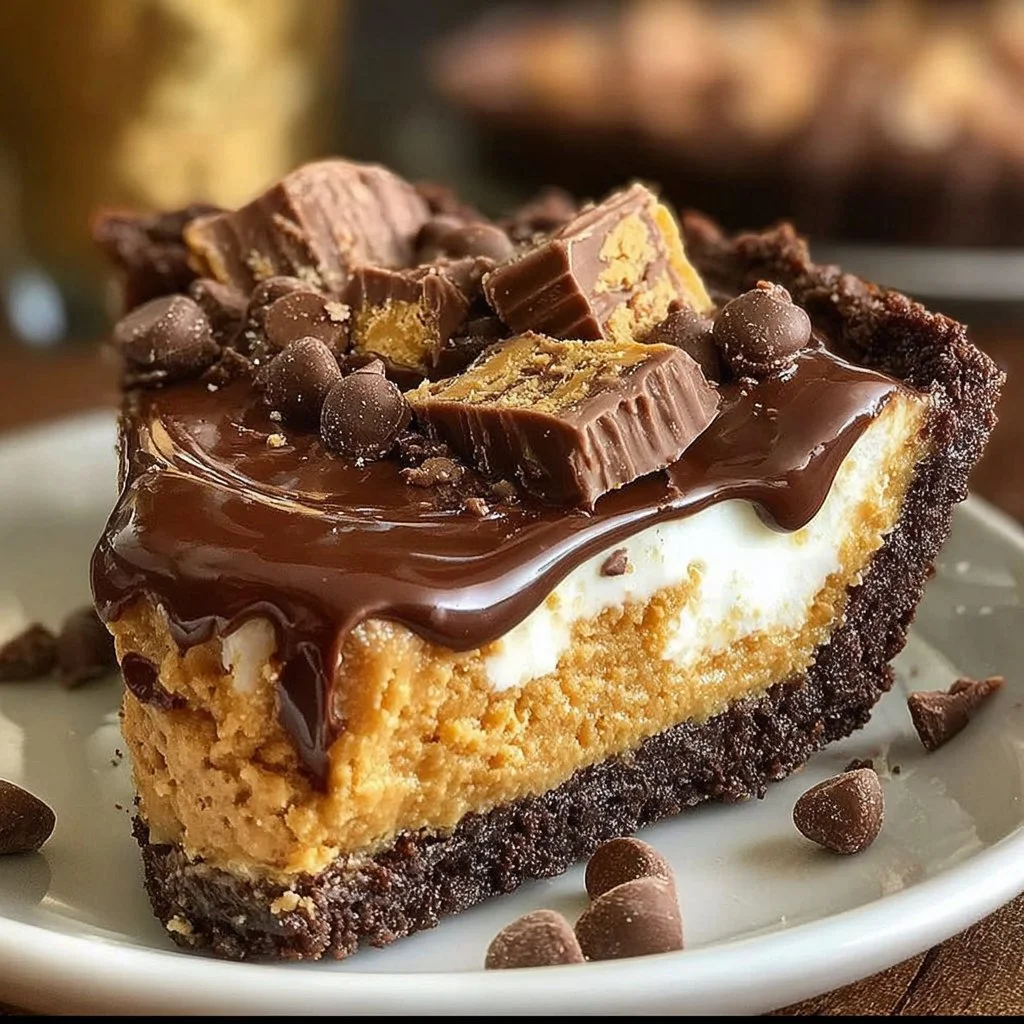
Creamy, chocolatey, and utterly irresistible, this Giant Reese’s Peanut Butter Cup is the ultimate no-bake treat for peanut butter lovers. Imagine a thick, velvety peanut butter center sandwiched between two glossy layers of rich chocolate — every bite is pure nostalgia and indulgence. Fun fact: the classic Reese’s cup was born from a home cook’s idea to pair two pantry staples, and this oversized version celebrates that same clever simplicity.
This recipe is special because it’s ridiculously simple, quick to prepare, and perfect for sharing. It’s family-friendly, requires no special equipment, and delivers dessert-table drama with minimal fuss. If you loved our no-bake chocolate bark or peanut butter bars, you’ll find this giant cup just as satisfying but with that iconic Reese’s flavor scaled up. Ready to whip up something everyone will talk about? Let’s get to it!
What is Giant Reese’s Peanut Butter Cup?
What’s in a name? A Giant Reese’s Peanut Butter Cup is exactly what it sounds like — a supersized take on the beloved candy, made at home so you can control the size, texture, and chocolate-to-peanut-butter ratio. Who wouldn’t want a single slice that tastes like a whole sleeve of store-bought cups? Did someone say dessert for dinner?
Why call it that? Maybe because stacking peanut butter and chocolate together is a fast track to happiness, or maybe because “the way to a man’s heart is through his stomach.” Who are we to argue? Try it and see — there’s a cheeky pleasure in making your own oversized version, and it might just become your go-to showstopper. Give it a try and tell us how big you made yours!
Why You’ll Love This
- Giant flavor hit: The creamy peanut butter center and shiny chocolate shell create a dreamy contrast of textures — silky, slightly grainy sweetness from the filling with a snap from the chocolate.
- Cost-saving and customizable: Making this at home is far cheaper than buying specialty large candy or custom treats. You can choose your favorite chocolate and control sugar level and saltiness.
- Simple, family-friendly, and crowd-pleasing: Kids can help press layers into the pan and elders will appreciate the classic flavor. Top it with flaky sea salt or chopped peanuts for extra crunch.
Compared to our peanut butter bars, this version focuses more on a smooth, molded presentation and a glossy chocolate coating that makes it feel extra special. Ready to make a giant classic? Let’s do it.
How to Make:
Quick Overview
This recipe is no-bake, very straightforward, and delivers a satisfying texture contrast: a dense, creamy peanut butter core with a smooth chocolate coating. Prep is quick (about 15 minutes active), chilling is the longest part (2–4 hours), and the result is rich and sliceable like a candy cake. Standout elements: the silky peanut butter filling and the glossy outer chocolate, which you can customize with sea salt, nuts, or a drizzle.
Approximate time: Prep 15 minutes, chill 2–4 hours, total 2–4 hours.
Ingredients
- 1 1/2 cups creamy peanut butter (room temperature)
- 3/4 cup powdered sugar (sifted if lumpy)
- 4 tablespoons unsalted butter, melted (cool slightly)
- 1 package chocolate chips (for coating) (about 10–12 ounces, use milk or semi-sweet)
- 1 teaspoon vanilla extract
Directions
- In a mixing bowl, combine the peanut butter, powdered sugar, melted butter, and vanilla extract until smooth. Use a sturdy spoon or a hand mixer on low for about 1–2 minutes so the filling is well blended and holds together but remains creamy.
- Line a round cake pan (8 or 9-inch works well) with parchment paper, leaving an overhang for easy removal. Pressing with parchment also helps create clean edges.
- Spread half of the peanut butter mixture into the bottom of the pan. Press evenly with the back of a spoon or a small spatula to create a uniform layer about 1/2 to 3/4 inch thick.
- Melt the chocolate chips in a microwave-safe bowl in 20- to 30-second bursts, stirring between each, until smooth. Alternatively, use a double boiler over simmering water and stir until glossy.
- Pour half of the melted chocolate over the peanut butter layer, spreading evenly with an offset spatula. Work quickly so the chocolate sets flat.
- Refrigerate until the chocolate layer is set, about 20–30 minutes. This helps the next peanut butter layer stay distinct.
- Once set, spread the remaining peanut butter mixture over the chocolate layer. Press gently to even it out.
- Pour the remaining melted chocolate on top and spread evenly to cover the peanut butter. Smooth the top and, if you like, sprinkle flaky sea salt or chopped peanuts immediately.
- Refrigerate for several hours or until completely firm (at least 2–4 hours). To serve, lift the parchment overhang, transfer to a cutting board, slice into wedges or squares, and enjoy.
What to Serve With:
- Cold milk or an iced latte for a classic pairing that balances richness.
- Fresh berries or a citrus fruit salad to cut the sweetness and add brightness.
- A scoop of vanilla or salted caramel ice cream for an over-the-top dessert plate.
- Espresso or dark coffee to pair with the chocolate notes.
Top Tips for Perfecting:
- Peanut butter choice: Use creamy peanut butter for the smoothest texture. If you prefer crunch, swap half for crunchy peanut butter but reduce powdered sugar slightly to balance texture.
- Chocolate temper: For the shiniest finish, temper your chocolate (or add a teaspoon of coconut oil to melted chips to thin and shine).
- Powdered sugar: If the filling is too soft, add 1–2 tablespoons more powdered sugar. If too dry, add a teaspoon of melted butter or a splash of milk.
- Pan size: For a thicker giant cup, use a smaller 6-inch pan; adjust chilling time accordingly.
- Common mistakes: Don’t skip chilling between layers — it keeps distinct layers and prevents mixing. Avoid overheating chocolate or it can seize.
Storing and Reheating Tips:
- Refrigeration: Store in an airtight container in the fridge for up to 2 weeks. Chilled slices hold their shape and taste best cold.
- Freezing: Wrap tightly in plastic wrap and place in a freezer-safe container for up to 3 months. Thaw in the fridge overnight before serving.
- Serving from fridge: Remove 10–15 minutes before serving for slightly softer texture, or serve straight from the fridge for firmer slices.
- No reheating needed: This is best served cold or at room temperature. If chocolate loses shine, a light pass with warm hands or a brief warm oven blast (not recommended) can help — but avoid heat.
FAQs
Can I use natural peanut butter?
Natural peanut butter can work but it’s oilier and may affect the filling’s texture. Stir well and consider chilling the mixture longer to firm it up.
Can I use different chocolate?
Yes — milk, semi-sweet, or dark chocolate chips all work. White chocolate is an option but will be sweeter; add a pinch of salt to balance.
Is this recipe allergen-friendly?
This recipe contains peanuts and dairy (butter, chocolate). For dairy-free, use vegan butter and dairy-free chocolate. For nut-free alternatives, substitute sunbutter but note flavor differences.
How thick should the peanut butter layer be?
Aim for about 1/2 to 3/4 inch per peanut butter layer in an 8–9 inch pan. Adjust pan size to change thickness.
Can I make mini versions instead of one giant cup?
Absolutely. Press the filling into muffin liners or mini tart pans and chill; baking cups are a fun party-sized alternative.
Conclusion
This Giant Reese’s Peanut Butter Cup is a no-fuss, nostalgic dessert that’s easy to make, budget-friendly, and endlessly customizable — perfect for parties, gifts, or a decadent weeknight treat. Give the chilled slices a few minutes at room temperature before serving for the best balance of softness and structure, and don’t be shy about adding a sprinkle of sea salt or chopped peanuts for texture. If you want a store-bought reference for flavor and portion inspiration, check out this classic option: REESE’S Milk Chocolate Half-Pound Peanut Butter Cups, Candy. Enjoy, share, and let us know how you customize your giant cup!
Giant Reese’s Peanut Butter Cup
Equipment
- Mixing Bowl
- Round Cake Pan
- Microwave-safe bowl
Ingredients
Ingredients
- 1.5 cups Creamy Peanut Butter Room temperature
- 3/4 cup Powdered Sugar Sifted if lumpy
- 4 tablespoons Unsalted Butter Melted and cooled slightly
- 10-12 ounces Chocolate Chips For coating, use milk or semi-sweet
- 1 teaspoon Vanilla Extract
Instructions
- In a mixing bowl, combine the peanut butter, powdered sugar, melted butter, and vanilla extract until smooth. Use a sturdy spoon or a hand mixer on low for about 1–2 minutes so the filling is well blended and holds together but remains creamy.
- Line a round cake pan (8 or 9-inch works well) with parchment paper, leaving an overhang for easy removal. Pressing with parchment also helps create clean edges.
- Spread half of the peanut butter mixture into the bottom of the pan. Press evenly with the back of a spoon or a small spatula to create a uniform layer about 1/2 to 3/4 inch thick.
- Melt the chocolate chips in a microwave-safe bowl in 20- to 30-second bursts, stirring between each, until smooth. Alternatively, use a double boiler over simmering water and stir until glossy.
- Pour half of the melted chocolate over the peanut butter layer, spreading evenly with an offset spatula. Work quickly so the chocolate sets flat.
- Refrigerate until the chocolate layer is set, about 20–30 minutes. This helps the next peanut butter layer stay distinct.
- Once set, spread the remaining peanut butter mixture over the chocolate layer. Press gently to even it out.
- Pour the remaining melted chocolate on top and spread evenly to cover the peanut butter. Smooth the top and, if you like, sprinkle flaky sea salt or chopped peanuts immediately.
- Refrigerate for several hours or until completely firm (at least 2–4 hours). To serve, lift the parchment overhang, transfer to a cutting board, slice into wedges or squares, and enjoy.