Blue Cheese Stuffed Pears
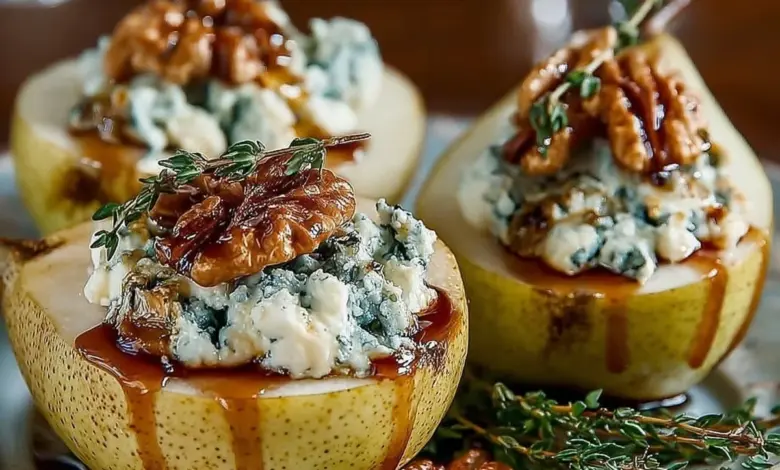
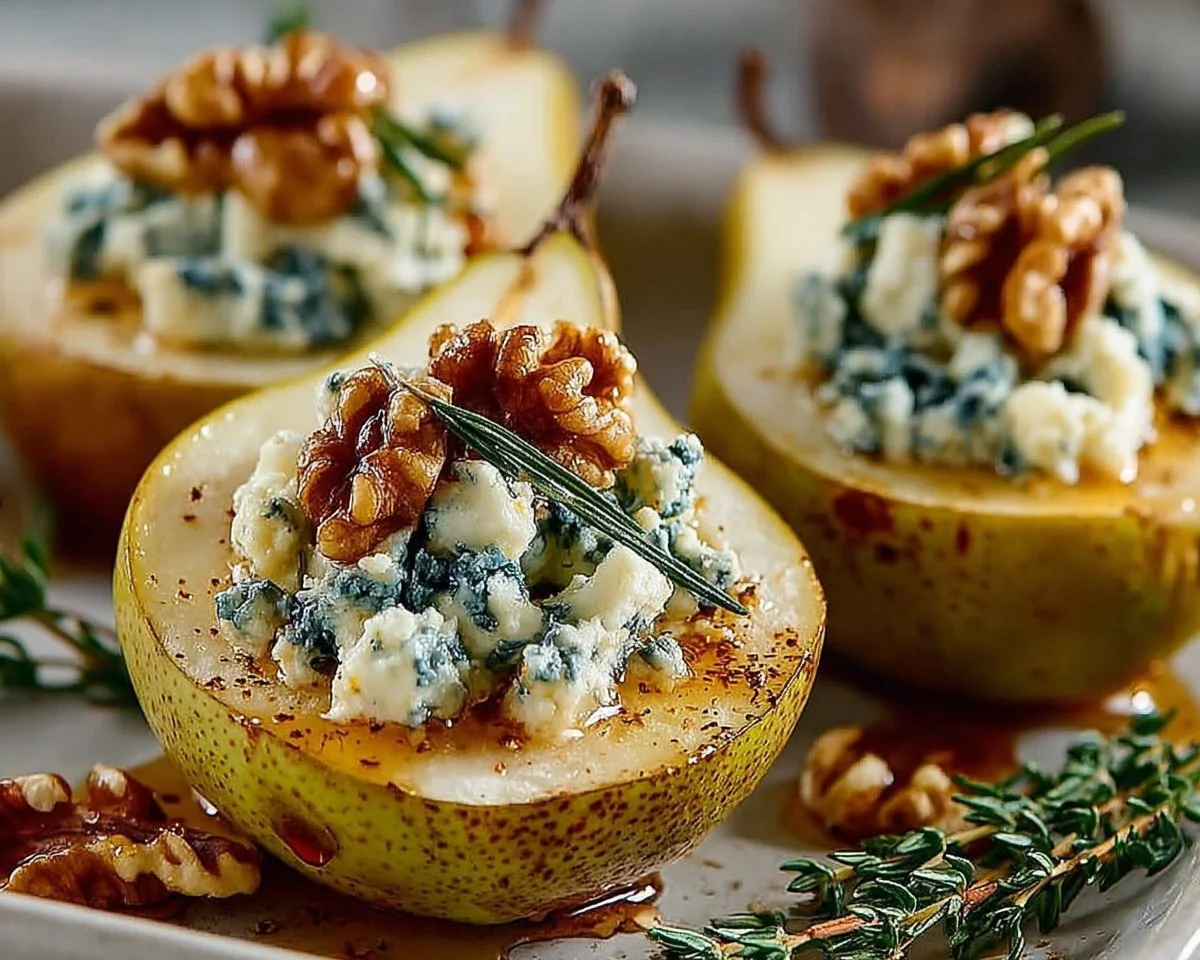
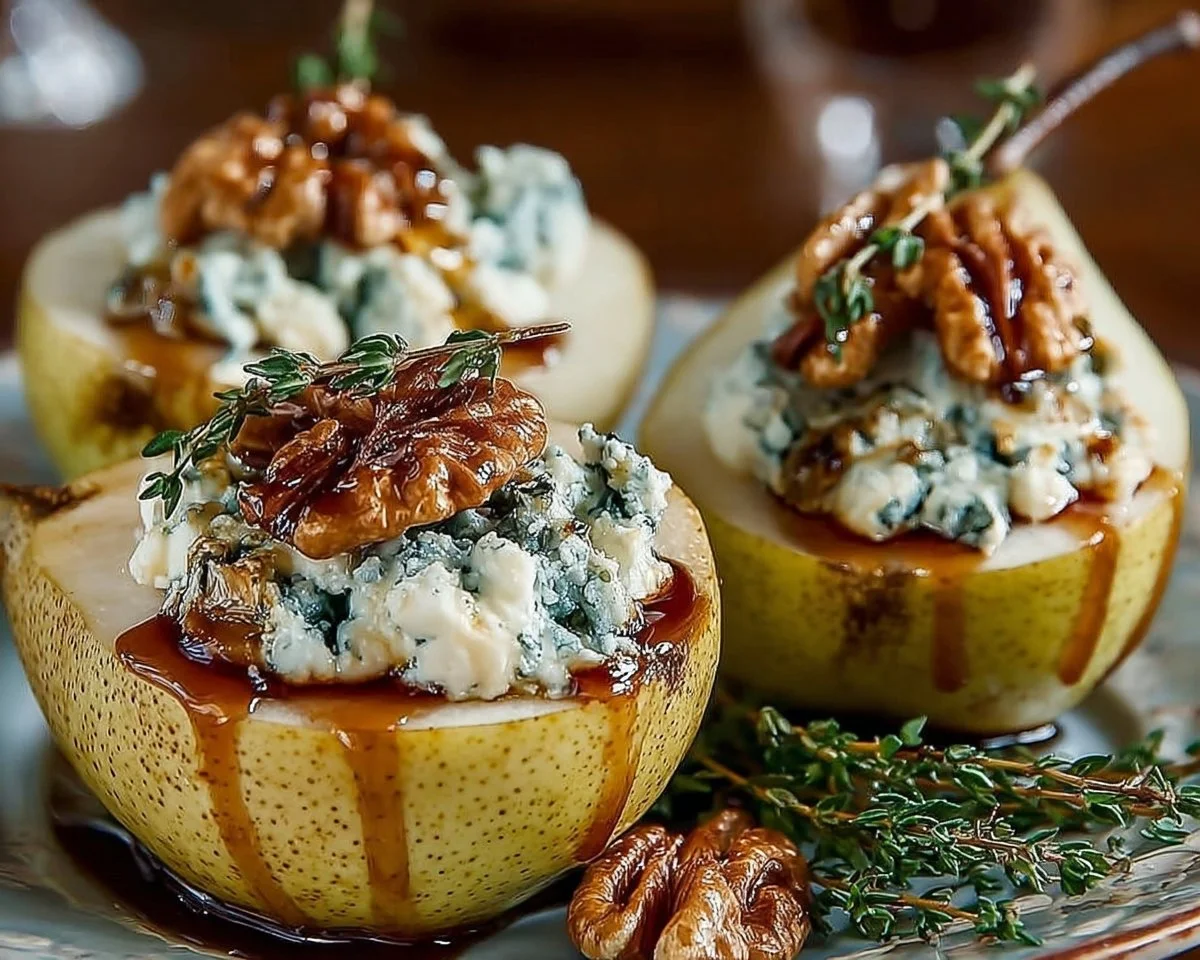
Creamy, juicy, and delightfully savory-sweet, Blue Cheese Stuffed Pears are one of those elegant little bites that feel fancy but are surprisingly simple to make. Roast a few ripe pears until tender, fill them with tangy blue cheese, crunchy walnuts, and a drizzle of honey, and you have a show-stopping appetizer or a light dessert in under 30 minutes. Fun fact: pears pair beautifully with blue cheese because the fruit’s mellow sweetness contrasts the cheese’s sharp, salty character—an age-old match on cheese boards everywhere.
This recipe is special because it’s fast, forgiving, and family-friendly: kids love the sweet fruit, adults appreciate the sophisticated flavor, and everyone enjoys the contrast of textures. If you like our lemon blueberry cheesecake cake, you might also enjoy trying this for a different kind of sweet-savory treat: a bright lemon blueberry cheesecake cake offers the other side of sweet indulgence. Read on to learn how to make these elegant pears with minimal fuss and maximum flavor.
What is Blue Cheese Stuffed Pears?
What’s in a name? Blue Cheese Stuffed Pears sounds like a fancy hors d’oeuvre you’d get at a chic party, but it’s really just humble pears transformed into something irresistible. Why call it that—because, frankly, stuffing a pear with blue cheese is exactly what it says on the tin. Who knew fruit could be this sassy? Ever wondered if this was invented by a chef or a busy parent with good taste? Maybe both.
There’s a playful logic here: sweet fruit plus punchy cheese equals pure magic, and it proves that “the way to a man’s heart is through his stomach.” Try it and see—there’s a reason people smile when they taste this combination. Go ahead and give it a whirl!
Why You’ll Love This:
- Irresistible contrast: The juicy, tender pear balances the bold, salty creaminess of blue cheese, while chopped walnuts add a pleasant crunch. Each bite is a little party for your palate.
- Cost-effective elegance: No need to buy fancy prepared appetizers. A few pantry staples—pears, cheese, nuts, and honey—create a sophisticated dish for far less than takeout or catering.
- Flavor layers and versatility: Honey adds floral sweetness, fresh thyme contributes a subtle herbal note, and you can easily tweak toppings (try toasted pecans, figs, or a balsamic drizzle) to suit the occasion.
If you love the cozy fall flavors in our apple pie cheesecake tacos, this recipe offers a lighter, fruit-forward way to enjoy similar warm notes and comfort-food vibes. Ready to make a batch? Let’s do it.
How to Make:
Quick Overview
This recipe is delightfully simple: core and halve ripe pears, mix a small bowl of crumbled blue cheese with walnuts, honey, and thyme, stuff the pears, and bake until tender. The standout element is the warm, slightly melted blue cheese that becomes luxuriously creamy against the soft pear flesh. Total time: about 25 minutes (10 minutes prep, 15–20 minutes bake).
Ingredients
- 2 ripe pears — halved and cored (leave the skin on; choose Bosc or Anjou for best roasting texture)
- 1/4 cup blue cheese — crumbled
- 2 tablespoons walnuts — chopped, lightly toasted if desired
- 1 tablespoon honey — plus extra for drizzling at the end
- 1 teaspoon fresh thyme leaves — roughly chopped
Directions
- Preheat your oven to 350°F (175°C). Line a baking sheet with parchment paper or lightly grease it so pears don’t stick.
- Cut the pears in half lengthwise and use a spoon to scoop out the core to create a small cavity big enough for the filling. Keep the halves intact.
- In a small mixing bowl, combine the crumbled blue cheese, chopped walnuts, honey, and fresh thyme leaves. Stir gently until everything is evenly mixed and slightly sticky.
- Spoon the cheese mixture into the cavity of each pear half. Pack it gently so the pears hold a generous filling without spilling.
- Arrange the stuffed pears cut side up on the prepared baking sheet. Bake for 15 to 20 minutes, or until the pears are tender when pierced with a fork and the cheese is starting to melt and turn slightly golden.
- Remove from the oven and let cool for 2 to 3 minutes. Drizzle with extra honey if desired and serve warm. Enjoy!
What to Serve With:
- A crisp green salad with lemon vinaigrette to cut through the richness.
- Prosciutto or thinly sliced cured meats for a charcuterie-style spread.
- Crusty baguette slices or toasted sourdough to scoop up melted cheese.
- A simple arugula and walnut salad with shaved Parmesan for peppery contrast.
- Drinks: A light white wine like Sauvignon Blanc, a fruity Pinot Noir, or sparkling water with a lemon twist.
Top Tips for Perfecting:
- Choose ripe but firm pears: Overly soft pears will collapse in the oven; underripe pears won’t become tender. Bosc or Anjou are ideal.
- Toast the walnuts briefly in a dry pan for 2 to 3 minutes to amplify their crunch and flavor.
- If blue cheese is too strong for some guests, mix half blue cheese and half cream cheese for a milder, creamier filling.
- For a caramelized finish, broil for 1 minute at the end—watch closely so the cheese doesn’t burn.
- Don’t overstuff: a modest amount of filling prevents overflow and ensures even heating.
Storing and Reheating Tips:
- Refrigeration: Store leftover stuffed pears in an airtight container in the fridge for up to 2 days. The texture will soften, so reheat gently.
- Freezing: Not recommended for best texture—pears become mushy after freezing and thawing. If you must, freeze only the filling separately in a small container for up to 1 month.
- Reheating: Warm in a 325°F (160°C) oven for 8 to 10 minutes until heated through, or microwave gently in 20-second bursts to avoid over-softening. Add a fresh drizzle of honey before serving to brighten flavors.
FAQs
Can I use a different cheese instead of blue cheese?
Yes. For a milder but still creamy option, use goat cheese or a blend of cream cheese and feta. Stilton or Gorgonzola are great if you want to stay in the blue cheese family.
Are these pears suitable for a vegetarian diet?
Yes—this recipe contains no meat. If you’re strict about rennet in cheeses, check that the blue cheese is made with vegetarian rennet.
Can I prepare these ahead of time?
You can assemble the pears up to a day in advance and refrigerate them on a baking sheet covered with plastic wrap. Bake just before serving to preserve texture.
What if my pears are too hard or too soft?
If too hard, bake a few extra minutes until tender. If too soft, choose firmer pears next time; there’s no fix for overly ripe fruit that becomes mushy when heated.
Can I scale this recipe for a crowd?
Absolutely. Multiply ingredients and arrange pears on multiple baking sheets. Bake in batches if your oven can’t fit them all at once to ensure even roasting.
Conclusion
Blue Cheese Stuffed Pears are a quick, elegant, and comforting recipe that proves simple ingredients can make a memorable dish. They’re easy to prepare, family-friendly, and perfect for entertaining or a cozy night in. If you want to explore another take on this flavor pairing or need ideas for serving alongside other delights, check out this excellent reference for more inspiration: Holistic Foodie’s Blue Cheese Stuffed Pears. Give these a try and share them with family or friends—the perfect little bite is waiting.
Blue Cheese Stuffed Pears
Equipment
- Baking Sheet
- Mixing Bowl
- Spoon
Ingredients
Ingredients
- 2 pieces Ripe Pears Halved and cored, skin on; Bosc or Anjou recommended.
- 1/4 cup Blue Cheese Crumbled.
- 2 tablespoons Walnuts Chopped, lightly toasted if desired.
- 1 tablespoon Honey Plus extra for drizzling.
- 1 teaspoon Fresh Thyme Leaves Roughly chopped.
Instructions
- Preheat your oven to 350°F (175°C). Line a baking sheet with parchment paper or lightly grease it.
- Cut the pears in half lengthwise and scoop out the core to create a cavity for the filling.
- In a small mixing bowl, combine the blue cheese, walnuts, honey, and thyme. Stir gently until mixed.
- Spoon the cheese mixture into the cavity of each pear half, packing it gently.
- Arrange the stuffed pears cut side up on the baking sheet. Bake for 15 to 20 minutes until tender and cheese is slightly golden.
- Remove from the oven, let cool for a few minutes, drizzle with extra honey if desired, and serve warm.