Brownie Refrigerator Cake
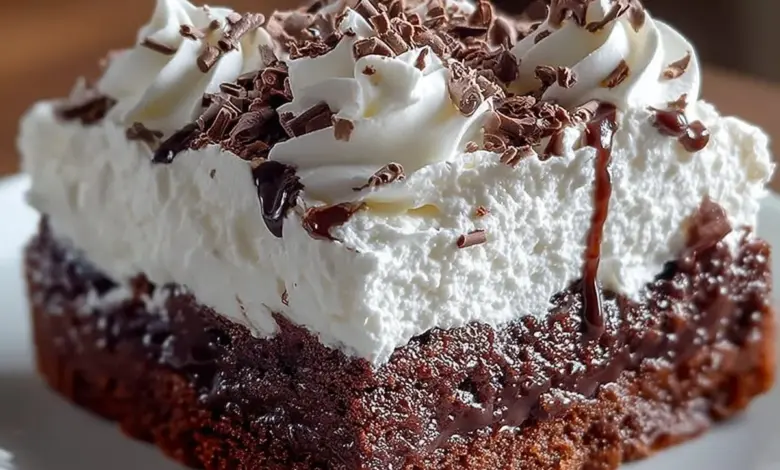
Creamy, chocolatey, and impossibly simple — Brownie Refrigerator Cake is the kind of dessert that feels indulgent without the fuss. Imagine a fudgy brownie base layered with a tangy cream cheese filling, silky chocolate pudding, and a cloudlike whipped topping; it’s a no-bake showstopper once the brownies are baked and chilled. Fun fact: this dessert travels well to potlucks because it’s made ahead and gets better after a nap in the fridge. If you love mashups like the ones found in our popular cheesecake brownies, you’ll see why this layered refrigerator cake is a fast favorite. Simple to assemble, family-friendly, and ready to impress, you’ll want to make it again and again.
What is Brownie Refrigerator Cake?
What’s in a name — and how did a brownie become a refrigerator cake? Think of this as brownie lasagna: a baked brownie base topped with no-bake cream layers and pudding, all set in the refrigerator until perfectly firm. Curious why “refrigerator”? Because the magic happens while it chills — layers meld and flavors relax. Could the cake be named for its cooling requirement or for being the easiest dessert to stash in the fridge for later? Either way, it proves the saying “the way to a man’s heart is through his stomach.” Try it and see if it wins over everyone at your table — I dare you not to go back for seconds.
Why You’ll Love This
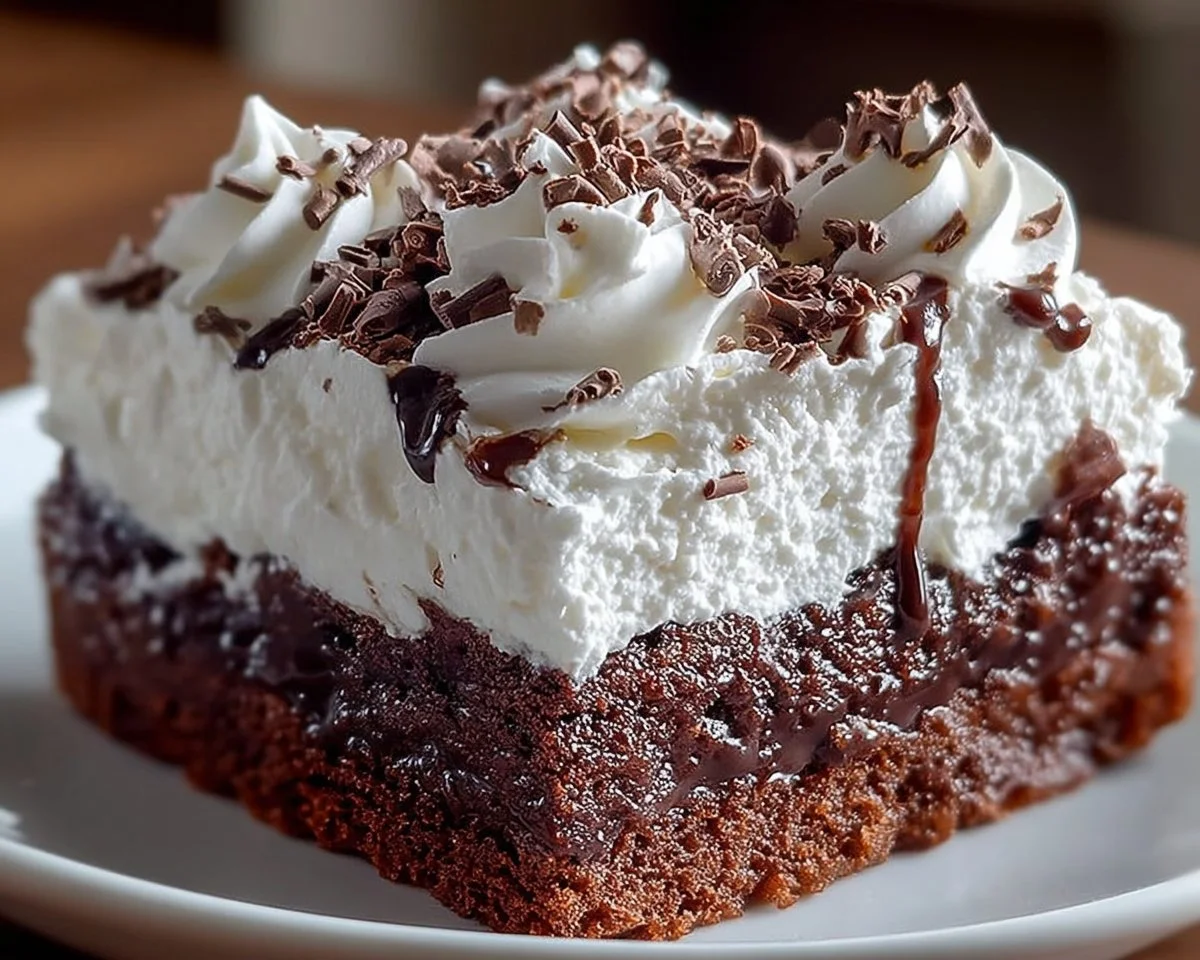
- Decadent layered texture: A fudgy brownie contrasts with silky cream cheese filling, pudding, and fluffy whipped topping — every bite is multi-textured and deeply satisfying.
- Budget-friendly entertaining: Using a boxed brownie mix and pantry staples keeps the cost low while delivering a dessert that looks and tastes homemade and luxurious.
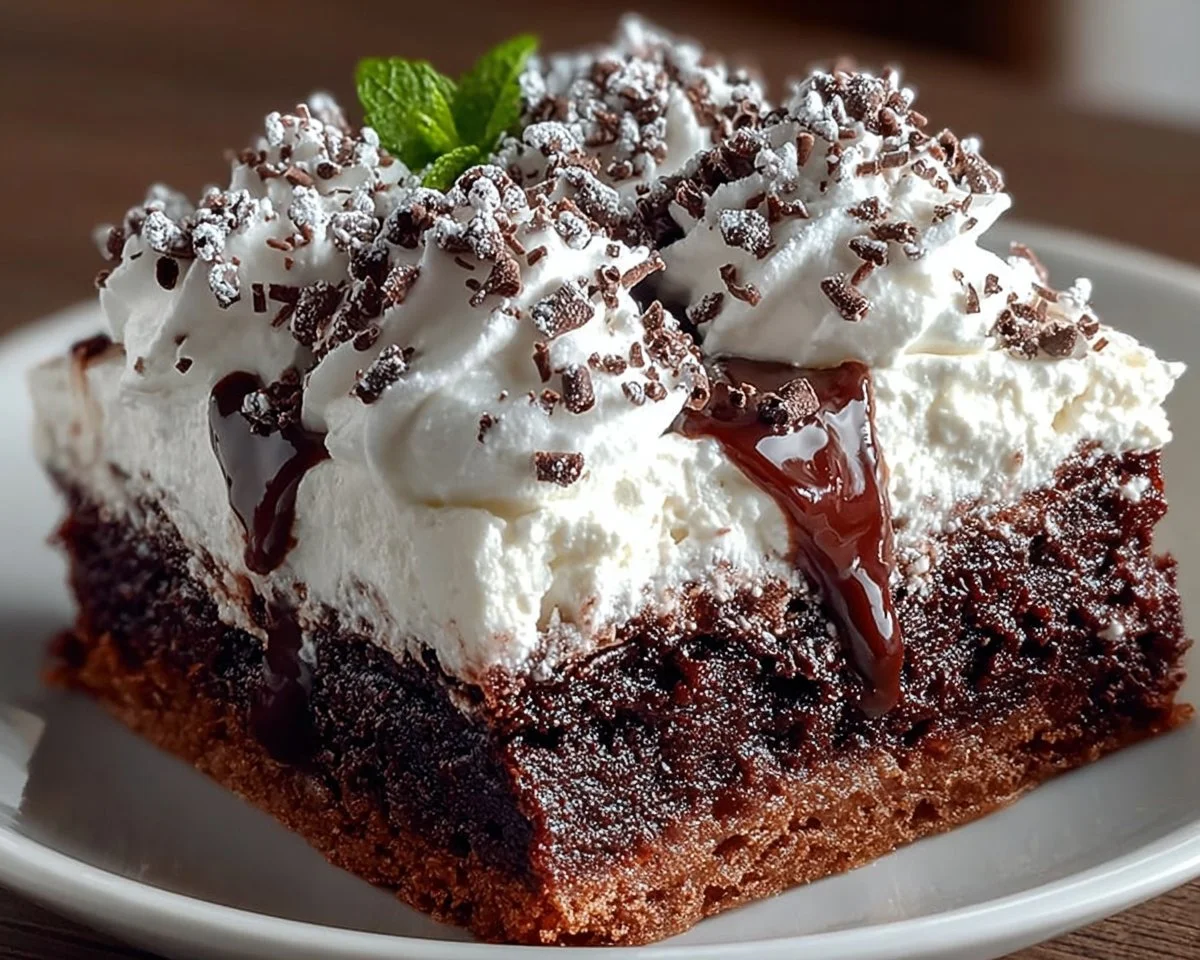
- Flavorful finishing touches: Chocolate pudding and shavings give a rich, chocolatey finish that’s both familiar and special.
If you enjoy layered treats, you might also like the light, crowd-pleasing flavors of A Slice of Heaven cake, but this recipe is faster and requires fewer steps. Ready to make it? Let’s get started.
How to Make: Quick Overview
This Brownie Refrigerator Cake is easy because most of the work is hands-off: bake the brownies, whip the cream cheese layer, mix pudding, assemble, and chill. The textures—fudgy, creamy, and pillowy—create a satisfying contrast, and the standout element is the cool, set pudding that seals the layers. Prep time is about 20 minutes (active) plus bake time per the brownie mix and at least 4 hours chilling, or overnight for best results.
Ingredients
1 box brownie mix (plus ingredients required on the box), prepared according to package instructions
1 package (8 oz) cream cheese, softened to room temperature
1 cup powdered sugar, sifted if lumpy
1 tub (8 oz) whipped topping (Cool Whip), thawed, divided (about half and half)
2 boxes (3.9 oz each) chocolate instant pudding mix
3 cups cold milk (for pudding)
Chocolate shavings or curls for garnish
Directions
- Preheat your oven to the temperature specified on the brownie mix box. Lightly grease a 9×13-inch baking dish or line it with parchment for easy removal.
- Follow the instructions on the brownie mix box to prepare the brownie batter, using the eggs, oil, and water the package calls for. Pour the batter into the prepared baking dish and bake according to the package directions until a toothpick near the center comes out with a few moist crumbs. Allow the brownies to cool completely in the pan on a wire rack. Cooling fully prevents the cream cheese layer from melting.
- In a mixing bowl, beat the softened cream cheese until smooth using a hand mixer or stand mixer. Gradually add the powdered sugar and continue to mix until well combined and creamy. Fold in half of the whipped topping (about 4 oz) until the mixture is light and spreadable. Use a rubber spatula to ensure a smooth finish.
- Once the brownies are cooled, evenly spread the cream cheese mixture over the top, smoothing it to the edges. In a separate bowl, whisk together both boxes of chocolate instant pudding mix and 3 cups cold milk for about two minutes until the pudding thickens. Pour the pudding over the cream cheese layer and spread gently so you don’t disturb the layer underneath.
- Spread the remaining whipped topping over the pudding layer with an offset spatula or spoon to create a final fluffy topping. Cover the cake tightly with plastic wrap and refrigerate for at least 4 hours, preferably overnight, so the layers set and flavors meld.
- Before serving, garnish the cake with chocolate shavings or curls for a pretty finish. Slice into squares and serve chilled for best texture and flavor.
What to Serve With
- Fresh berries or sliced strawberries for brightness and acidity.
- Coffee or espresso to balance the sweetness.
- A light mint salad or mint tea for a refreshing palate cleanser.
- Vanilla ice cream on the side for an extra creamy pairing.
- For a party, serve alongside simple cookies or biscotti for variety.
Top Tips for Perfecting
- Use room temperature cream cheese so the filling is silky and lump-free.
- Chill longer for firmer slices — overnight refrigeration gives the cleanest cuts.
- For a richer pudding layer, replace 1 cup of milk with half-and-half.
- If you prefer less sweetness, reduce the powdered sugar to 3/4 cup.
- Avoid overwhipping the thawed Cool Whip; fold gently to keep it light.
- Common mistake: assembling while the brownies are warm — always cool completely to avoid runny layers.
Storing and Reheating Tips
- Refrigeration: Store covered in the refrigerator for up to 4 days. Keep it tightly wrapped to prevent absorption of fridge odors.
- Freezing: You can freeze uncut portions for up to 2 months. Wrap tightly in plastic and foil. Thaw overnight in the refrigerator before serving. Note that whipped topping may change texture slightly after freezing.
- Serving after storage: Serve chilled straight from the fridge; no reheating is necessary. If you freeze and thaw, let it sit in the fridge for several hours to regain firmness before slicing.
FAQs
Can I make this with homemade brownies instead of a boxed mix?
Absolutely. Use your favorite homemade brownie recipe and bake in a 9×13-inch pan to match the assembly. Just ensure they cool completely before layering.
Can I use a different pudding flavor?
Yes. Chocolate is classic, but vanilla or mocha pudding can add a fun twist. Keep in mind flavor balance with the cream cheese layer.
Is there a dairy-free version of this dessert?
You can use dairy-free cream cheese, nondairy whipped topping, and a dairy-free pudding mix (or make a pudding with plant milk and cornstarch). Texture may vary slightly.
How do I get neat slices when serving?
Use a sharp knife warmed under hot water, wipe it clean between cuts, and slice in a single, steady motion. Chill well before slicing for best results.
Can I make this in smaller portions?
Yes, scale down to an 8×8-inch pan or use individual cups with brownie pieces layered in parfait style for portable servings.
Conclusion
This Brownie Refrigerator Cake is a fast, family-friendly dessert that looks like you spent hours in the kitchen but mostly requires a little assembly and patience while it chills. It’s perfect for potlucks, weeknight dessert needs, or anytime you want a comforting chocolate treat with minimal fuss. If you’d like to compare notes with a classic version, see the Brownie Refrigerator Cake | Just A Pinch Recipes for another take on this beloved dessert. Give it a try and share a slice with someone you love — it might just become your new go-to.
Brownie Refrigerator Cake
Equipment
- Mixing Bowl
- Baking Dish
- Hand Mixer
Ingredients
Brownie Base
- 1 box Brownie mix Plus ingredients required on the box
Cream Cheese Layer
- 8 oz Cream cheese Softened to room temperature
- 1 cup Powdered sugar Sifted if lumpy
- 8 oz Whipped topping (Cool Whip) Thawed, divided
Pudding Layer
- 2 boxes Chocolate instant pudding mix 3.9 oz each
- 3 cups Cold milk For pudding
Garnish
- Chocolate shavings or curls For garnish
Instructions
- Preheat your oven to the temperature specified on the brownie mix box. Lightly grease a 9×13-inch baking dish or line it with parchment for easy removal.
- Follow the instructions on the brownie mix box to prepare the brownie batter, using the eggs, oil, and water the package calls for. Pour the batter into the prepared baking dish and bake according to the package directions until a toothpick near the center comes out with a few moist crumbs. Allow the brownies to cool completely in the pan on a wire rack.
- In a mixing bowl, beat the softened cream cheese until smooth using a hand mixer. Gradually add the powdered sugar and continue to mix until well combined and creamy. Fold in half of the whipped topping until the mixture is light and spreadable.
- Once the brownies are cooled, evenly spread the cream cheese mixture over the top. In a separate bowl, whisk together both boxes of chocolate instant pudding mix and 3 cups cold milk for about two minutes until the pudding thickens. Pour the pudding over the cream cheese layer and spread gently.
- Spread the remaining whipped topping over the pudding layer to create a final fluffy topping. Cover the cake tightly with plastic wrap and refrigerate for at least 4 hours, preferably overnight.
- Before serving, garnish the cake with chocolate shavings or curls. Slice into squares and serve chilled for best texture and flavor.